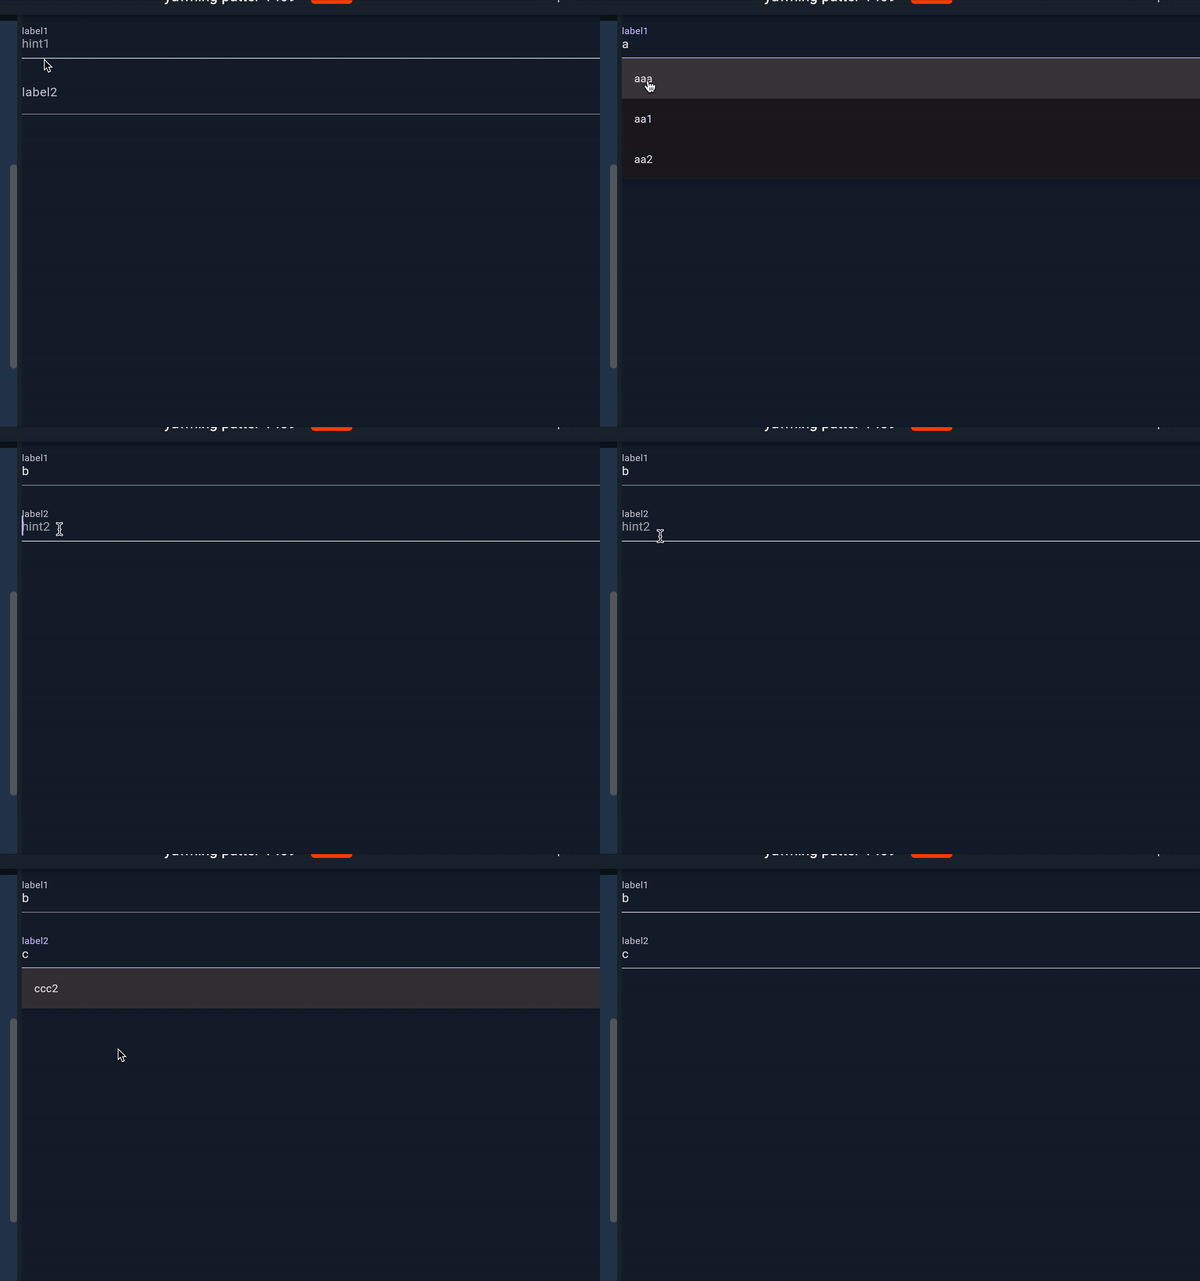
To achieve your goal of creating a reusable MyAutocomplete widget, you can define a custom stateful widget that encapsulates the Autocomplete logic and styling. Below is an example of how you can create a MyAutocomplete widget:
class MyAutocomplete extends StatefulWidget {
 final List<String> options;
 final String label;
 final String hintText;

 const MyAutocomplete({
   super.key,
   required this.options,
   required this.label,
   required this.hintText,
 });

 @override
 State<MyAutocomplete> createState() => _MyAutocompleteState();
}
class _MyAutocompleteState extends State<MyAutocomplete> {

 @override
 Widget build(BuildContext context) {
   return Autocomplete<String>(
     optionsBuilder: (TextEditingValue textEditingValue) {
       if (textEditingValue.text == '') {
         return const Iterable<String>.empty();
       }
       return widget.options.where((String option) {
         return option.contains(textEditingValue.text.toLowerCase());
       });
     },
     fieldViewBuilder: (BuildContext context, TextEditingController textEditingController, FocusNode focusNode, VoidCallback onFieldSubmitted) {
       return TextFormField(
         controller: textEditingController,
         decoration: InputDecoration(
           labelText: widget.label,
           hintText: widget.hintText,
         ),
         focusNode: focusNode,
         onFieldSubmitted: (String value) {
           onFieldSubmitted();
           print('You just typed a new entry  $value');
         },
       );
     },
     onSelected: (String selection) {
       print('You just selected $selection');
     },
   );
 }
}
Now we can use reusable code as below:
class MyWidget extends StatelessWidget {
 final List<String> list1 = ['aaa', 'bbb', 'ccc', 'aa1', 'aa2'];
 final String label1 = 'label1';
 final String hint1 = 'hint1';

 final List<String> list2 = ['aaa2', 'bbb2', 'ccc2'];
 final String label2 = 'label2';
 final String hint2 = 'hint2';

 @override
 Widget build(BuildContext context) {
   return Column(
     children: [
       MyAutocomplete(options: list1, label: label1, hintText: hint1),
       const SizedBox(height: 16.0),
       MyAutocomplete(options: list2, label: label2, hintText: hint2),
       // Add more MyAutocomplete fields as needed
     ],
   );
 }
}
Output:


