Task Scheduling in Laravel 8 Tutorial
Last Updated on June 4, 2024
In this tutorial, we will learn how to implement Task Scheduling in Laravel 8. We will build a demo app that will e-mail the weekly report of an employee's task details to their manager.
In this tutorial, we will learn how to implement Task Scheduling in Laravel 8. We will build a demo app that will e-mail the weekly report of an employee’s task details to their manager.
Let’s clarify what we are going to build in the demo.
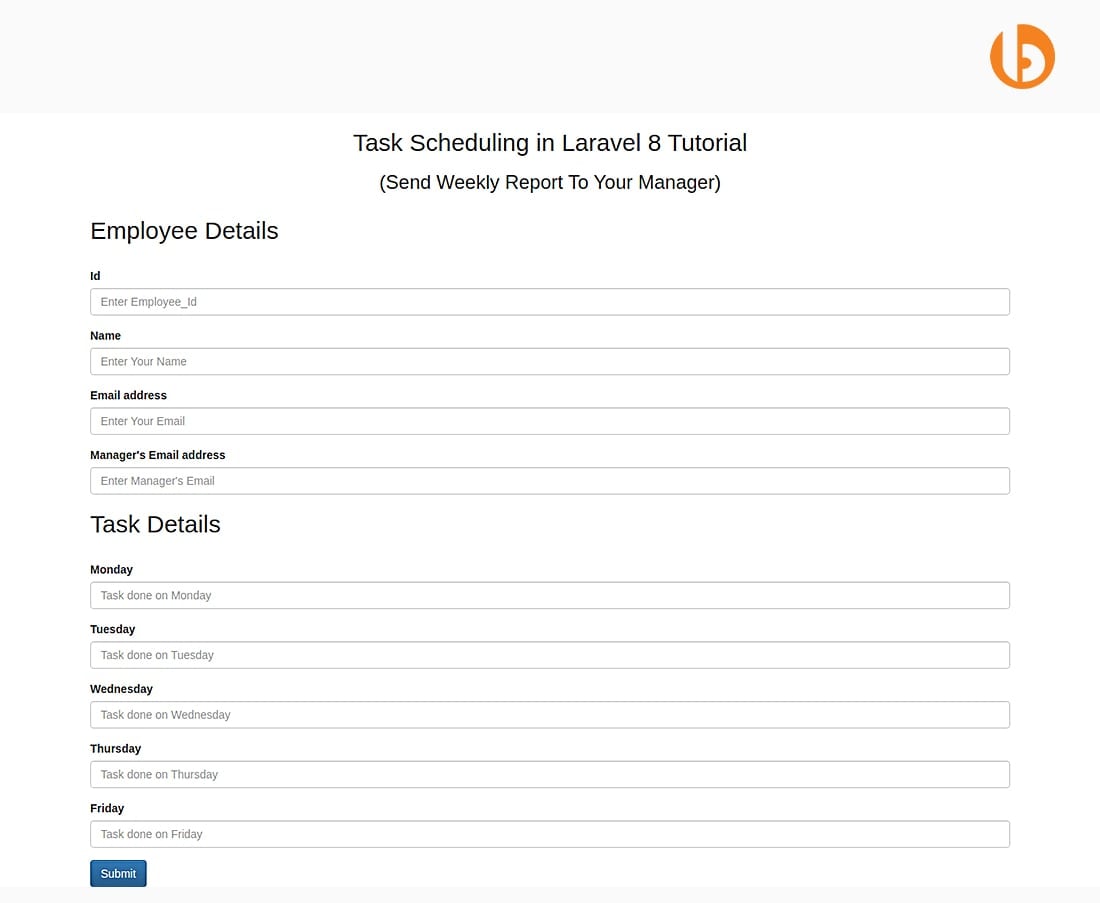
The user interface will have a form that will take details (employee with tasks) and the manager’s email ID (to send a weekly report).
After submitting the form, the report will automatically be generated and mailed to the manager at the end of the week.
Let’s start a new Laravel project, for that run the below command in your cmd,
After creating the database and adding mail configurations to the .env file, use the following command to create a controller.
Moving towards the UI part. We need to create a form that will take employee and task details with the manager’s email ID (the report will be sent).
Open welcome.blade.php and add below code in your tag.

<div  class="container">
   @if (session('status'))
   <div class="alert alert-success">
     {{ session('status') }}
   </div>
   @endif
   <form method="post" action="{{route('addData')}}">
     @csrf
     <h2>Employee Details</h2><br>
     <div class="form-group">
       <label>Id</label>
       <input type="number" name="e_id" class="form-control" placeholder="Enter Employee_Id">
     </div>
     <div class="form-group">
       <label>Name</label>
       <input type="text" name="e_name" class="form-control" placeholder="Enter Your Name">
     </div>
     <div class="form-group">
       <label>Email address</label>
       <input type="email" name="e_email" class="form-control" placeholder="Enter Your Email">
     </div>
     <div class="form-group">
       <h2>Task Details</h2><br>
       <div class="form-group">
         <label>Monday</label>
         <input type="text" name="t_mon" class="form-control" placeholder="Task done by Monday">
       </div>

       <div class="form-group">
         <label>Tuesday</label>
         <input type="text" name="t_tue" class="form-control" placeholder="Task done by Tuesday">
       </div>

       <div class="form-group">
         <label>Wednesday</label>
         <input type="text" name="t_wed" class="form-control" placeholder="Task done by Wednesday">
       </div>

       <div class="form-group">
         <label>Thursday</label>
         <input type="text" name="t_thu" class="form-control" placeholder="Task done by Thursday">
       </div>

       <div class="form-group">
         <label>Friday</label>
         <input type="text" name="t_fri" class="form-control" placeholder="Task done by Friday">
       </div>
     </div>
     <div class="form-group"></div>
     <button type="submit" class="btn btn-primary">Submit</button>
   </form>
 </div>
The UI will look something like this-

Are you in search of dedicated Laravel developers with optimum problem-solving skills for your project?
We can be your one-stop solution. Hire Laravel developer from us to implement your visions into a successful reality
For adding route, use below code in web.php file

use App\Http\Controllers\TaskAddController;
Route::post('/addData',[TaskAddController::class,'addTask'])->name('addData');
In this step we will create one model and migration file to save the report of the employee. For that use the below command.
After creating the migration file, add table structure in it.

<?php

use Illuminate\Database\Migrations\Migration;
use Illuminate\Database\Schema\Blueprint;
use Illuminate\Support\Facades\Schema;

class CreateAddTasksTable extends Migration
{
    /**
     * Run the migrations.
     *
     * @return void
     */
    public function up()
    {
        Schema::create('add_tasks', function (Blueprint $table) {
            $table->id();
            $table->bigInteger('e_id');
            $table->string('e_name');
            $table->string('e_email');
		  $table->string('manager_email');
            $table->string('t_mon');
            $table->string('t_tue');
            $table->string('t_wed');
            $table->string('t_thu');
            $table->string('t_fri');
            $table->timestamps();
        });
    }

    /**
     * Reverse the migrations.
     *
     * @return void
     */
    public function down()
    {
        Schema::dropIfExists('add_tasks');
    }
}
To update TaskAddController add below code:

<?php

namespace App\Http\Controllers;

use Illuminate\Http\Request;
use App\Models\AddTask;

class TaskAddController extends Controller
{
   public function addTask(Request $request)
   {
       $data = $request->all();
       $task = new AddTask();
       $task->e_id = $data['e_id'];
       $task->e_name = $data['e_name'];
       $task->e_email = $data['e_email'];
       $task->manager_email = $data['manager_email'];
       $task->t_mon = $data['t_mon'];
       $task->t_tue = $data['t_tue'];
       $task->t_wed = $data['t_wed'];
       $task->t_thu = $data['t_thu'];
       $task->t_fri = $data['t_fri'];
       $task->save();
       return back()->with('status','Data added successfully');
   }

}
Now we create a mail class with a markdown. For that apply the below command.
After creating, update the mail class.
Open App\Mail\WeeklyReport.php

<?php

namespace App\Mail;

use Illuminate\Bus\Queueable;
use Illuminate\Contracts\Queue\ShouldQueue;
use Illuminate\Mail\Mailable;
use Illuminate\Queue\SerializesModels;

class WeeklyReport extends Mailable
{
    use Queueable, SerializesModels;

    public $body;

    /**
     * Create a new message instance.
     *
     * @return void
     */
    public function __construct($body)
    {
        $this->body = $body;
    }

    /**
     * Build the message.
     *
     * @return $this
     */
    public function build()
    {
        return $this->markdown('email.weeklyReport');
    }
}
For creating mail structure, open views\email\weeklyReport.blade.php

Hello..
This mail contains Weekly report of your Team.
<style>
   table, th, td {
        border: 1px solid black;
   }
   table {
       width: 100%;
       border-collapse: collapse;
   }
</style>
<table >
   <thead>
   <tr>
       <th>ID</th>
       <th>Name</th>
       <th>Email</th>
       <th>Monday</th>
       <th>Tuesday</th>
       <th>Wednesday</th>
       <th>Thursday</th>
       <th>Friday</th>
   </tr>
   </thead>
   <tbody>

   <tr>
       <td>{{$body->e_id}}</td>
       <td>{{$body->e_name}}</td>
       <td>{{$body->e_email}}</td>
       <td>{{$body->t_mon}}</td>
       <td>{{$body->t_tue}}</td>
       <td>{{$body->t_wed}}</td>
       <td>{{$body->t_thu}}</td>
       <td>{{$body->t_fri}}</td>
   </tr>
   </tbody>
</table>
For sending the weekly report we need to create an artisan command.
Use the following command for the same
Now go to the App\Console\Commands\sendWeeklyReport.php and add the below code.
The handle() method of this class gets all the data from the database; for each employee report will be generated and sent to the email ID provided in the form, here manager’s email ID.

<?php
namespace App\Console\Commands;
use Illuminate\Console\Command;
use App\Models\AddTask;
use App\Mail\WeeklyReport;
use Mail;
class sendWeeklyReport extends Command
{
   /**
    * The name and signature of the console command.
    *
    * @var string
    */
   protected $signature = 'weekly:mail_report';
   /**
    * The console command description.
    *
    * @var string
    */
   protected $description = 'Weekly report send to Manager';
   /**
    * Create a new command instance.
    *
    * @return void
    */
   public function __construct()
   {
       parent::__construct();
   }
   /**
    * Execute the console command.
    *
    * @return int
    */
   public function handle()
   {
       $emp = AddTask::all();

       foreach($emp as $empl)
       {
       $email = $empl->manager_email;
       $body = $empl;
       Mail::to($email)->send(new WeeklyReport($body));
       $this->info('Weekly report has been sent successfully');
       }
   }
}
Open App\Console\Kernal.php and update the schedule method of that class to add a scheduler.

protected function schedule(Schedule $schedule)
 {
    $schedule->command('weekly:mail_report')->weekly();
 }
To run the scheduler locally, use the following command
You can check the Laravel official documentation for exploring more about Task scheduling in Laravel 8.
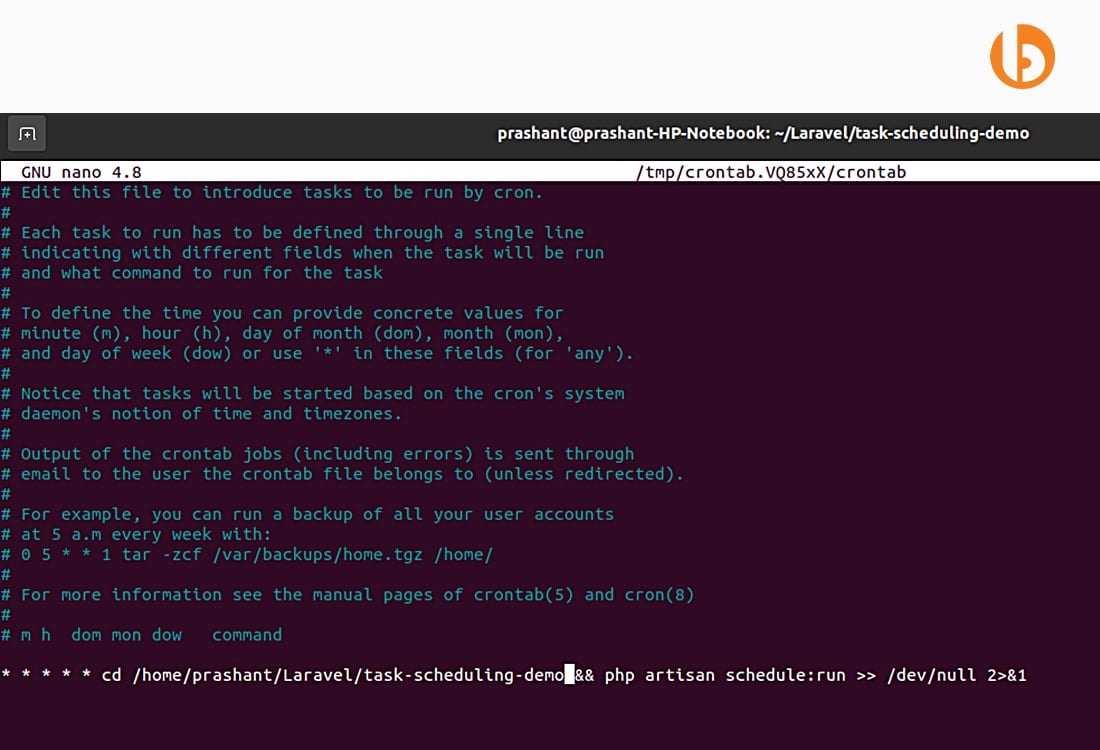
So far, we have defined our scheduled tasks; now, let’s see how we can run them on the server. The artisan command schedule:run evaluates all the scheduled tasks and determines whether they need to be run on the server’s current time.
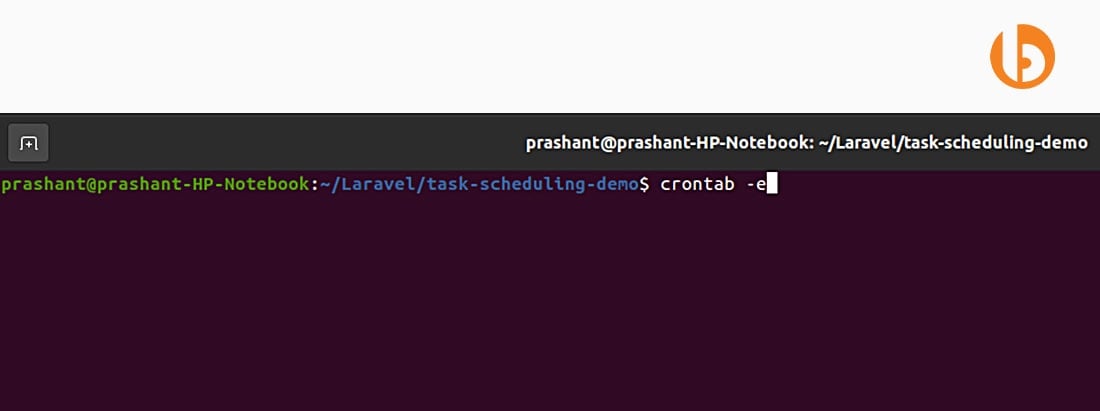
To set up crontab, use the following instructions-


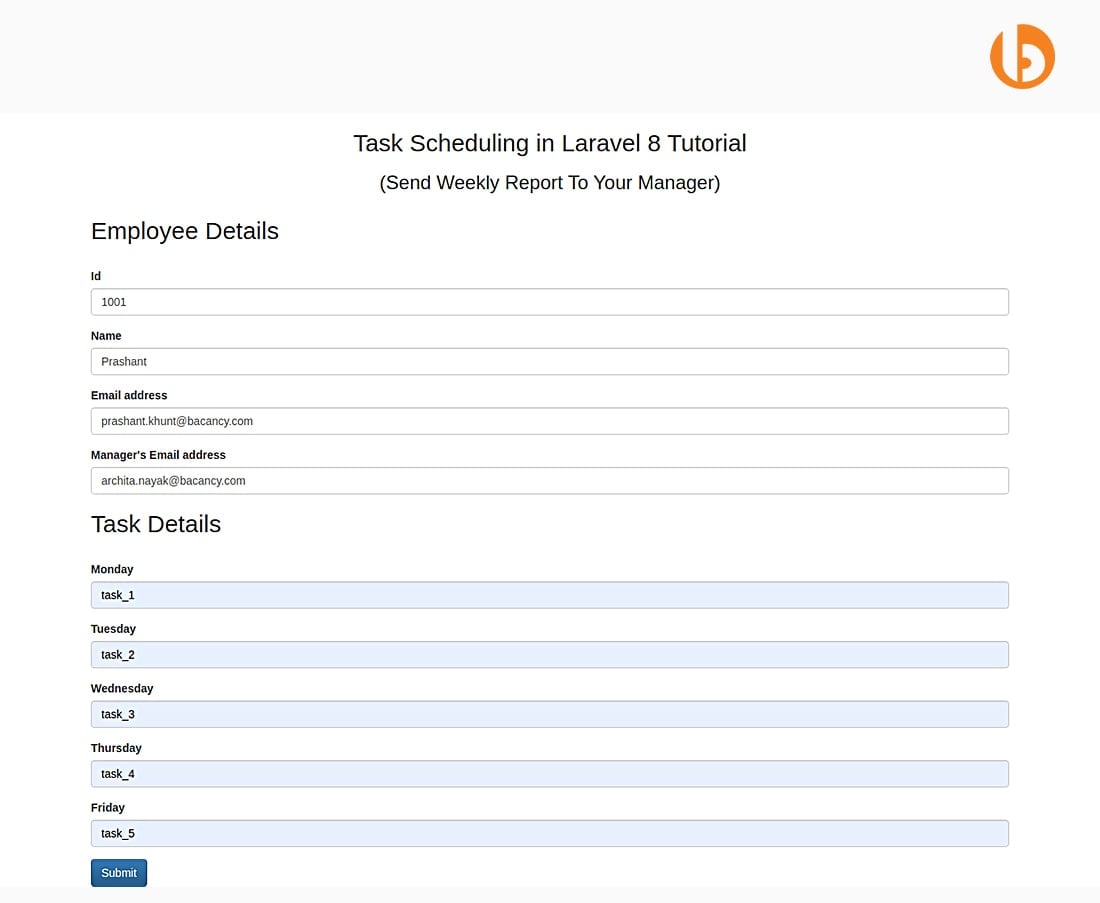
Fill the required details as shown below-

On submitting the form, the email will be sent.

So, this was about how to implement Task scheduling in Laravel 8. For more such tutorials, visit Laravel Tutorials Page and clone the github repository to play around with the code.
If you have any queries or requirements for your Laravel project, feel free to connect with Bacancy to hire Laravel developers.
Your Success Is Guaranteed !
We accelerate the release of digital product and guaranteed their success
We Use Slack, Jira & GitHub for Accurate Deployment and Effective Communication.