React Native Elements: The Enticing Aspects of Your React Native App
Last Updated on August 3, 2023
Summary:
With the evolving market trends and user satisfaction being the center of attraction for all, UIs play a significant role in connecting business owners with the end-users. To achieve this, React Native is the go-to choice for most entrepreneurs to bring forth a native and aesthetic look for your app development. However, the credit here goes to React Native Elements, which enables faster and smoother UI development. In this blog post, we will delve into the in-depth factors of RN Elements, including their benefits and components, and the steps to implement them into your React Native project.
React Native Elements are the components or the popular UI libraries that enable building cross-platform mobile apps using React Native. They are the components that resemble prefabricated building structures or pre-designed and customizable UI components. This all-in-one UI kit helps create applications in React Native easily. It eliminates the hassle of consolidating the packages and offers a pre-made kit with a uniform API, look, and feel.
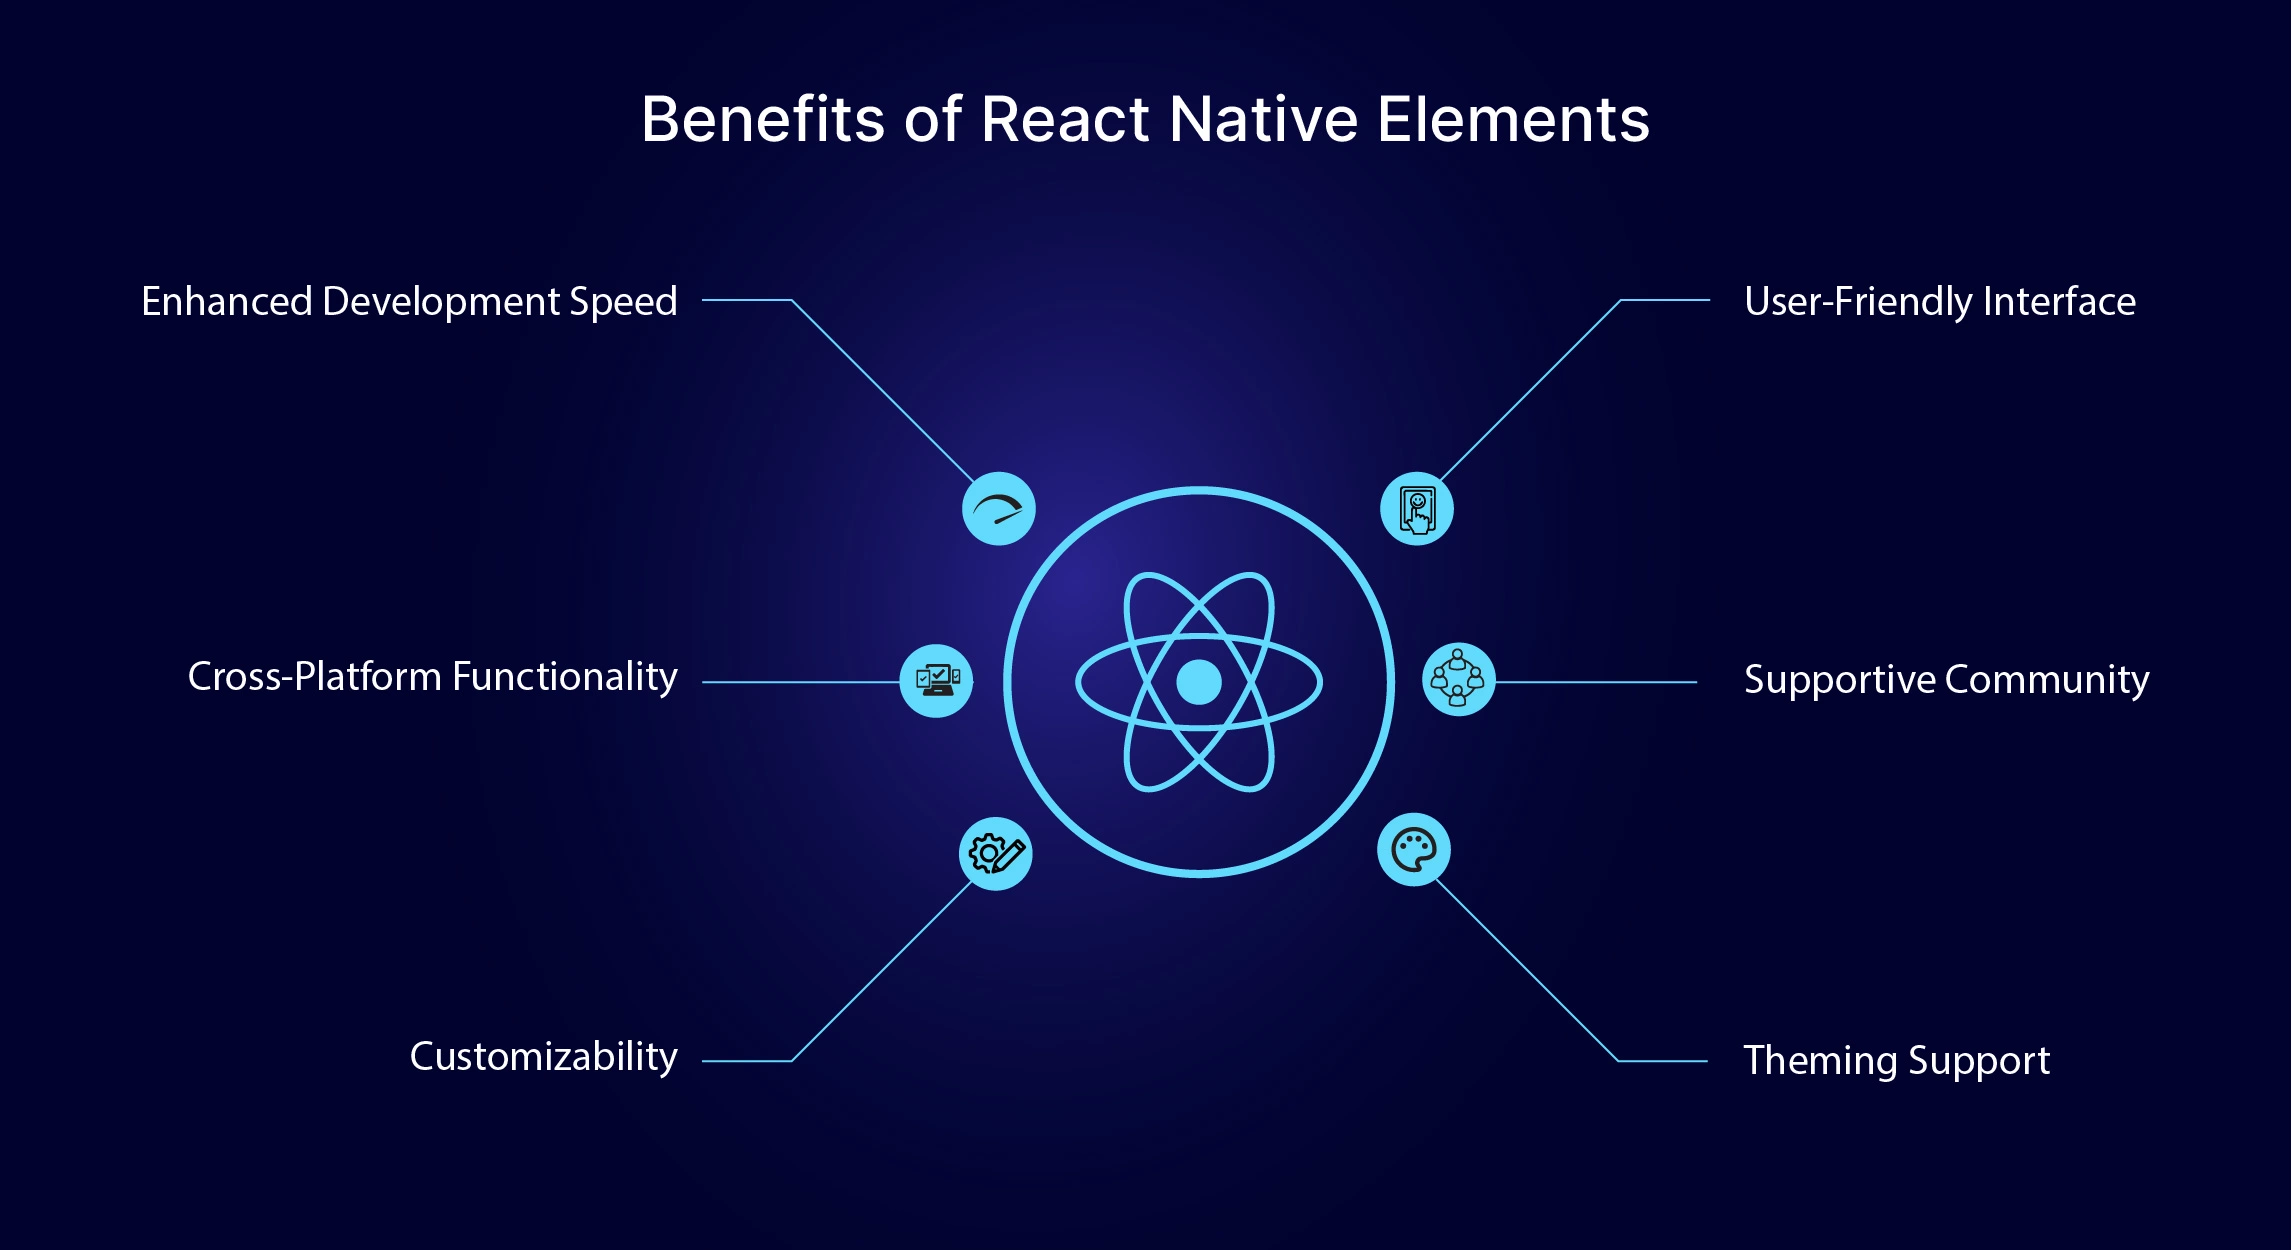
React Native Elements are ready-made building blocks that allow you to develop intuitive and engaging native apps. The team combines popular open-source UI component libraries, such as React Native Vector Icons, to enhance the functionality. Moving ahead, let’s dive into the benefits of RN Elements, which allow you to integrate high-quality components into your React Native app effortlessly.

It offers a wide range of pre-designed UI components, significantly accelerating development. Developers can leverage these ready-to-use components instead of starting from scratch, saving time and effort.
It ensures seamless cross-platform functionality, enabling the creation of applications that work seamlessly on both iOS and Android platforms. The components are designed to provide a native look and feel, delivering a consistent user experience across devices.
The components provided by React Native Elements are highly customizable, allowing developers to style and modify the appearance and behavior of their applications. Customization options are available to align the UI with specific requirements and branding, from colors and styles to sizes and icons.
It offers an intuitive and user-friendly interface. Its inbuilt TypeScript support allows developers to start working on their projects quickly while integrating with the Expo tool, simplifying the development process.
It benefits from a vibrant and supportive community of developers. This community offers valuable resources, tutorials, and assistance, allowing developers to leverage shared knowledge and best practices to enhance their React Native applications.
These include robust theming support, enabling developers to define global styles and customize the visual aspects of their applications. This promotes a consistent and professional look throughout the app, reinforcing brand identity.
Seeking a Refreshing Change from your App’s Mundane and Basic UI Designs?
Hire React Native developer and team from Bacancy and rediscover the aesthetic look and feel to create unforgettable UIs with React Native Elements.
RN Elements encompass components catering to various aspects of the software development lifecycle. It offers comprehensive functionality for everyday use cases, from essential elements like a simple < Divider /> to more intricate animated components like < Rating />. Some notable components within these ‘Elements’ that can significantly benefit your next project are:
✅ Buttons: They empower your app with a versatile collection of customizable button components that effortlessly trigger actions and enhance React navigation.
✅ Inputs: Input Components allow your users to easily input text and make selections, providing a seamless and user-friendly experience.
✅ Lists: Lists components present visually appealing and well-organized information using components explicitly designed to create lists.
✅ Cards: Cards display information in structured and aesthetically pleasing card formats, complete with titles, images, and customizable content sections.
✅ Dialogs: Dialogs communicate essential information or gather user input using components that display alerts, pop-ups, or modals within your app.
✅ Avatar: Avatar component enhances user-profiles and visual representation by quickly incorporating components for displaying avatars or images.
✅ Badge: This component highlights the critical information or notifications with visually appealing badge components that grab user attention.
✅ BottomSheet: It presents additional options, actions, or content in a customizable bottom sheet format, providing a seamless user experience.
✅ ButtonGroup: This Element groups and manages buttons effortlessly, simplifying user interactions within your app.
✅ CheckBox: The CheckBox component allows users to make multiple selections using intuitive checkbox components easily.
✅ Divider: The Divider component enhances your app design and creates a visual separation between content sections.
✅ FAB (Floating Action Button): FAB engages your users and improves usability with sleek circular buttons for primary actions that float above your content.
✅ Header: You can use customizable Header components to create a consistent, visually appealing, reactive navigation experience throughout your app.
✅ HTML Style Headings: This allows you to structure and organize content effectively with semantic heading components, enhancing readability and accessibility.
✅ Icon: The Icon component allows you to add visual impact and intuitive communication to your app using a wide selection of vector icons.
✅ Image: The Image component enables you to captivate users with captivating visuals by seamlessly incorporating components for displaying various image sources.
✅ Linear Progress: The Linear Progress component offers visual progress indicators to inform users about task or process completion.
✅ Overlay: This component displays overlays or modals on the screen to provide additional information or interactive elements.
✅ Pricing: This Element component presents pricing details and subscription options in a visually appealing and structured format.
✅ Rating: You can gather user feedback and enable them to provide ratings effortlessly, enhancing user engagement.
✅ Search Bar: This Element allows you to improve user search capabilities with intuitive input fields and functionality for efficient searches.
✅ Slider: The Slider enables users to select values within a continuous range using intuitive slider components. It allows you to use React Native animation libraries to add life to an engaging user interface.
✅ Social Icons / Social Icon Buttons: These Element components enhance social sharing and integration features by incorporating popular social media icons.
✅ Speed Dial: The Speed Dial simplifies user interactions and allows them to access secondary actions using floating buttons with customizable options quickly.
✅ Switch: Helps improve user control and interactivity by implementing intuitive toggle switch components.
✅ Tile: This showcases content in visually stunning and customizable tile formats to create an engaging user interface.
✅ Tab: Tab enables seamless RN navigation between different app sections using customizable tab components.
✅ Tab View: It allows creating swipeable tab views to present different screens or sections within your app, enhancing user experience.
✅ Tooltip: It provides contextual information or hints about specific features or elements within your app to improve user guidance and interaction.
The React Native Ecosystem empowers developers to build Progressive Web Apps and cross-platform mobile apps easily. You can also use any of these Elements to enhance the UI of your apps and delight users with an exceptional user experience.
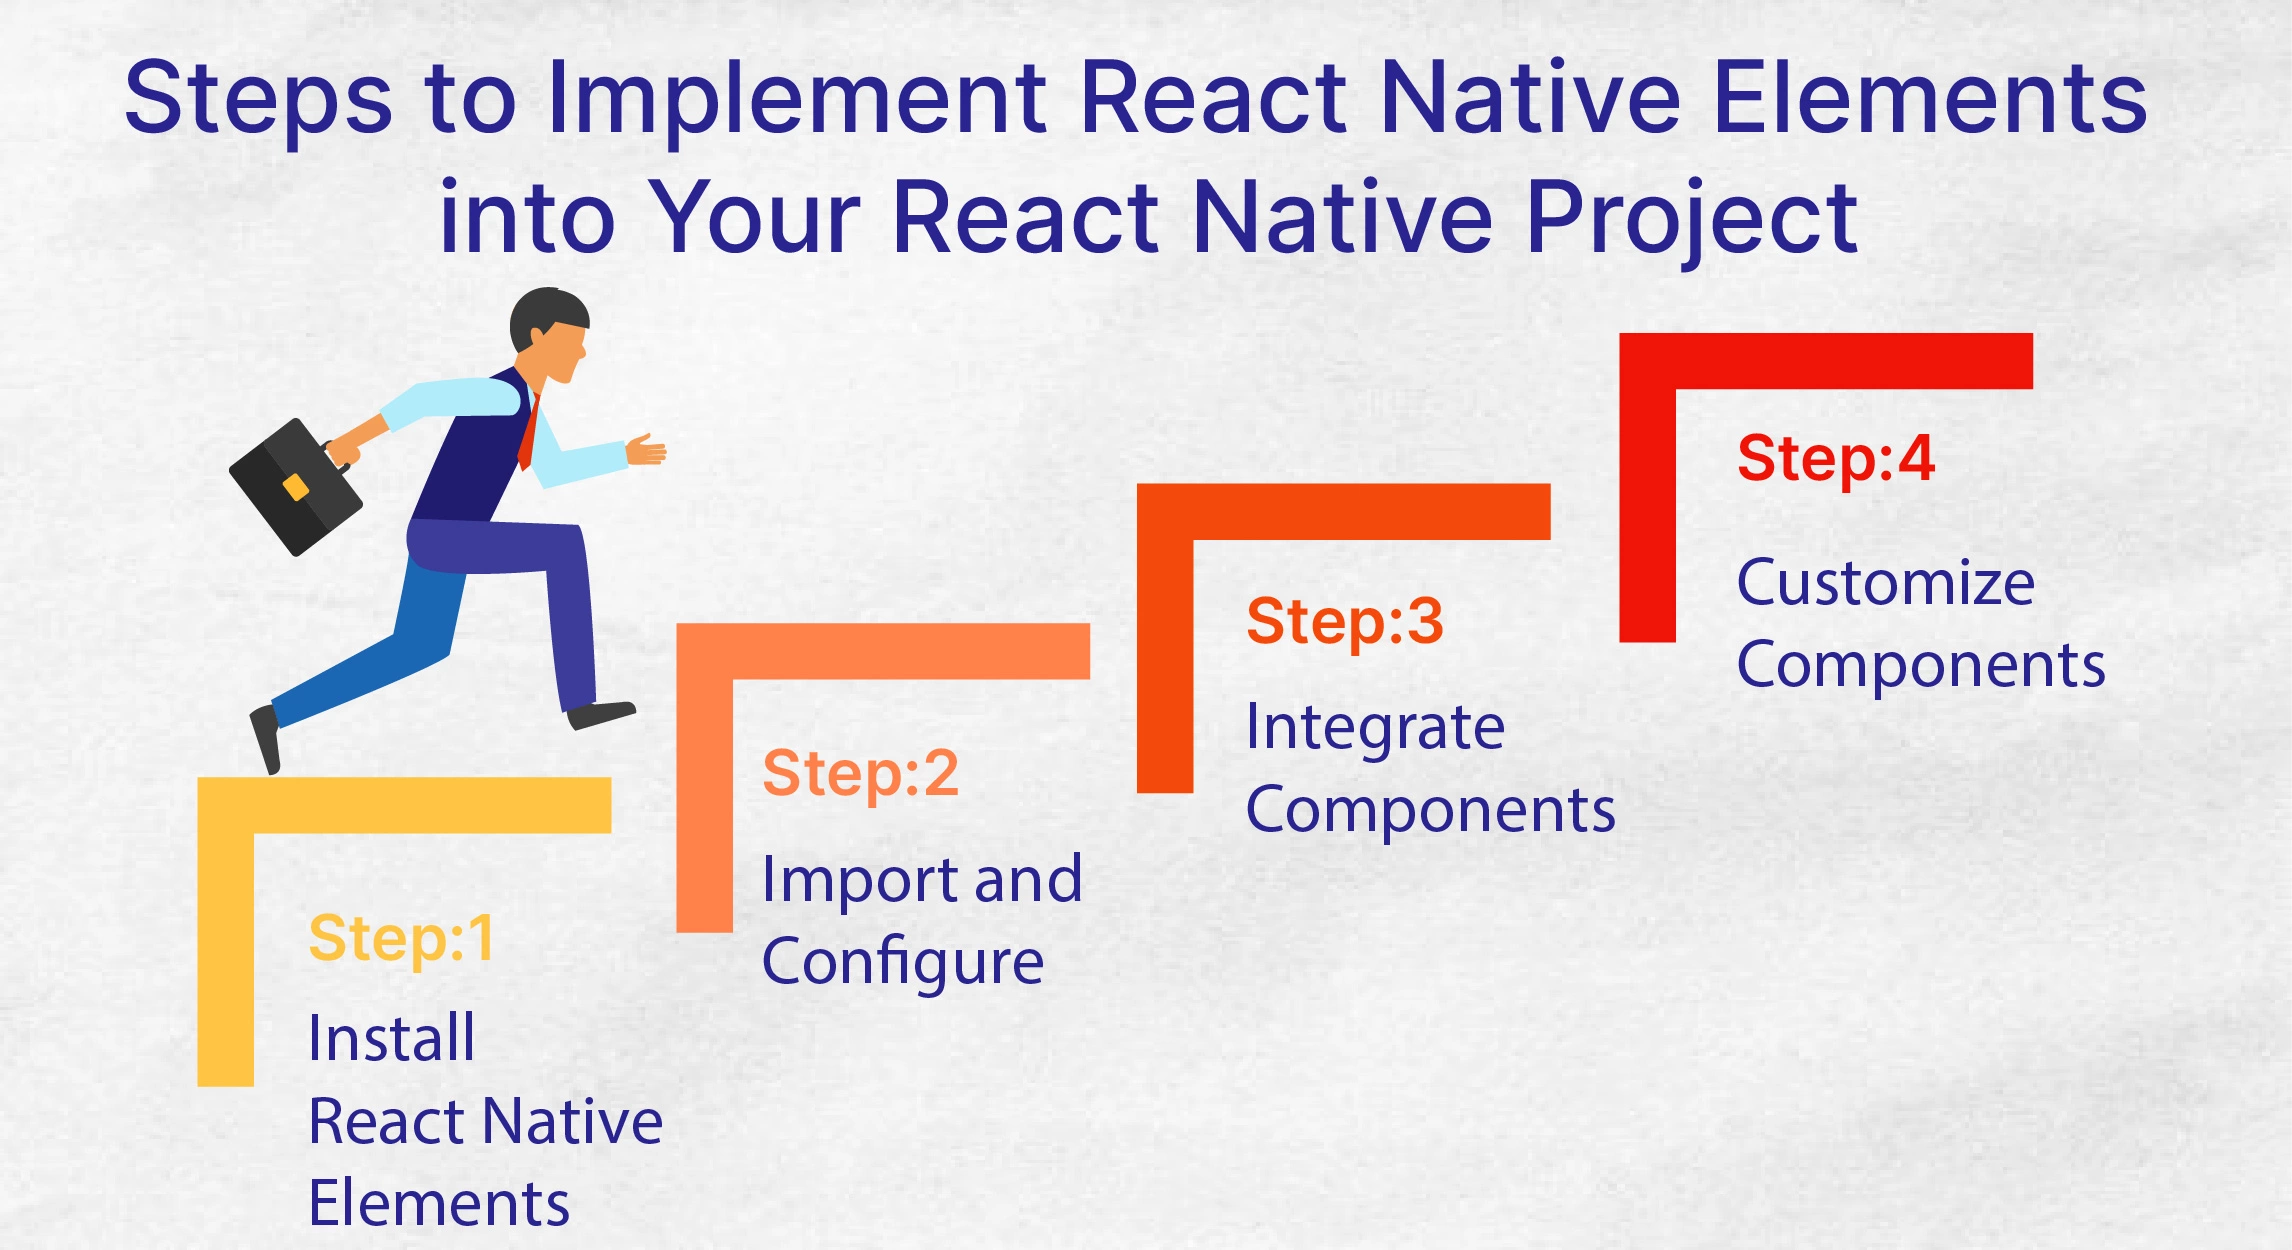
Now that we are aware of the components of the React Native Elements, let us move ahead with the steps to implement React Native Elements into your React Native application:

To begin, install the React Native Elements library by running the following command in your project directory using npm or yarn:
or
Now, install the peer dependencies for RN Elements by running the following commands in your project directory using npm or yarn. You can skip this step if you already have these libraries installed:
Install react-native-vector-icons
or
Link the dependency
If you face any issues installing react-native-vector-icons, follow the instruction guide here.
Install react-native-safe-area-context
or
It is required to add the SafeAreaProvider to the outside of the app. Here is an example.
Let us now integrate your Element React Native components into your application. Let’s take an example of using a Button component. Update the render method in your component to include the following code:

import React from 'react';
import { View, Button } from 'react-native';
import { ThemeProvider } from '@rneui/themed';

export default function MyComponent() {
  const onPressButton = () => {
    console.log('Button pressed!');
  };

  return (
    <View>
      <Button
        title="Press Me"
        onPress={onPressButton}
      />
    </View>
  );
}
In this example, we incorporated the Button component from the react-native library into our component. When the button is pressed, the onPressButton function is invoked, logging a message to the console.
Similarly, you can integrate various other element React Native components, such as Input, Card, ListItem, and more, by importing them from the react-native-elements library and leveraging them within your components.
Want to Integrate High-Quality UI Components in your React Native App?
Partner with a React Native Development Company like Bacancy and witness the magic of React Native Elements in creating unforgettable UIs.
Let us now integrate your React Native Element components into your application. Let’s take an example of using a Button component. Update the render method in your component to include the following code:

import React from 'react';
import { View, Button } from 'react-native';
import { Button } from '@rneui/themed';

export default function MyComponent() {
  const onPressButton = () => {
    console.log('Button pressed!');
  };

  return (
    <View>
      <ThemeProvider
        theme={{
          Button: {
            titleStyle: {
              color: 'white',
            },
            buttonStyle: {
              backgroundColor: 'blue',
              borderRadius: 8,
            },
          },
        }}
      >
        <Button
          title="Press Me"
          onPress={onPressButton}
        />
      </ThemeProvider>
    </View>
  );
}
In this example, we incorporated the Button component from @rneui/themed into our component. When the button is pressed, the onPressButton function is invoked, logging a message to the console.
Similarly, you can integrate other components of React Native Elements, such as Input, Card, ListItem, and more, by importing them from @rneui/themed and leveraging them within your components.
These components offer extensive customization options, allowing you to tailor their appearance, styles, and properties to align with your app’s design. Let’s further enhance our previous Button example by incorporating custom styles:

import React from 'react';
import { View } from 'react-native';
import { ThemeProvider, Button, createTheme } from '@rneui/themed';

export default function MyComponent() {
  const onPressButton = () => {
    console.log('Button pressed!');
  };

  const theme = createTheme({
    components: {
      Button: {
        titleStyle: {
          color: 'white',
        },
        buttonStyle: {
          backgroundColor: 'blue',
          borderRadius: 8,
        },
      },
    },
  });


  return (
    < View  >

        < Button
          title="Press Me"
          onPress={onPressButton}
        /  >

    < /View  >
  );
}
In this example, we have enclosed our button within the ThemeProvider component and provided a custom theme object. We personalized the titleStyle to display white text color and the buttonStyle to exhibit a blue background color with rounded corners.
With this, we can infer that React Native Elements is a powerful UI library for React Native that simplifies the development of cross-platform mobile applications. Its extensive collection of pre-designed and customizable components offers accelerated development, cross-platform compatibility, customizability, and theming support. Following simple steps, developers can integrate and leverage various components to create intuitive and visually appealing user interfaces. However, if you are a business owner and are confused about if the Element component in React Native can benefit your mobile application development, hire dedicated developers from Bacancy to bring your vision to reality and deliver exceptional mobile applications efficiently.
Your Success Is Guaranteed !
We accelerate the release of digital product and guaranteed their success
We Use Slack, Jira & GitHub for Accurate Deployment and Effective Communication.