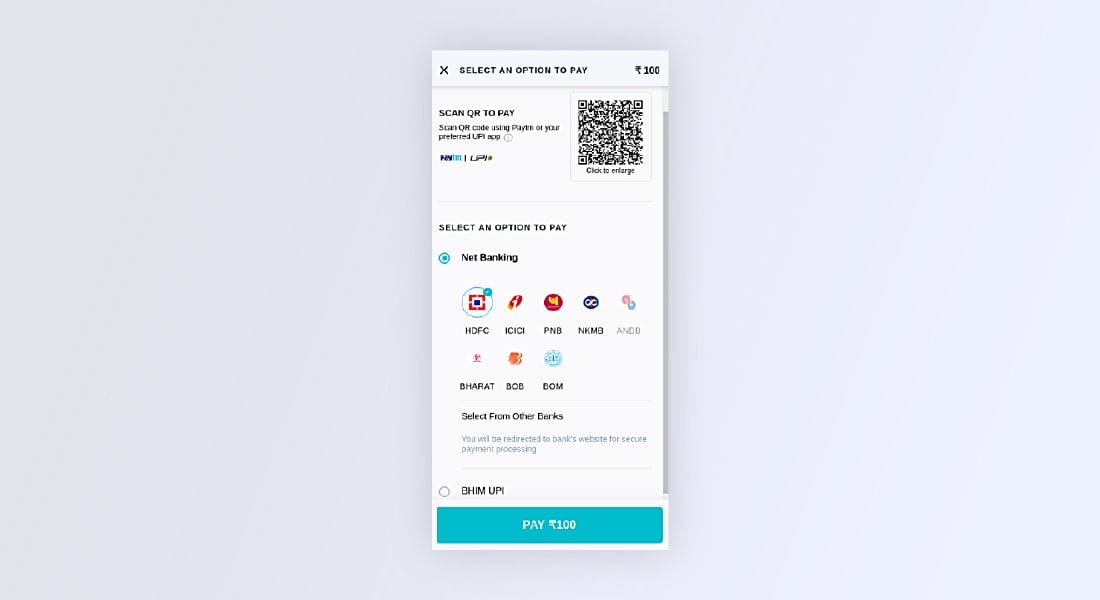
How to Integrate Paytm Payment Gateway using ReactJS in Seven Easy Steps
Last Updated on January 3, 2025
Quick Summary
Learn how to integrate a payment gateway in React JS with Paytm in this comprehensive tutorial guide. This step-by-step walkthrough simplifies the integration process, covering everything from setting up a Paytm developer account to generating a ReactJS application, linking the Paytm SDK, and testing the payment flow.
Payment integration has become necessary in several apps, especially e-commerce, financial, and social media platforms. Hence, integrating a reliable payment gateway is crucial for improving user experience and driving business growth. Paytm, one of the most trusted brands for payment process platforms, is an ideal choice.
It provides a seamless way to process payments in your web applications, and pairing it with React JS opens up numerous possibilities to develop intuitive, fast, and secure payment systems. In this tutorial guide, we will discuss how to integrate Paytm payment gateway using ReactJS, its step-by-step process, and simplify the payment experience.
In this tutorial, we will delve into the integration of Paytm payment using React Js. We have built a small demo app that will help you understand the process more easily. By the end of this tutorial, you will successfully have a working payment system integrated into your React applications, which allows you to accept payments securely and efficiently. So, let’s get started and take the first step toward building a fully functional payment solution for your web application.

Before incorporating Payment integration in React js, you must create a Paytm developer account. It will enable you to access the necessary API keys and secret credentials required to authorize and authenticate payments.
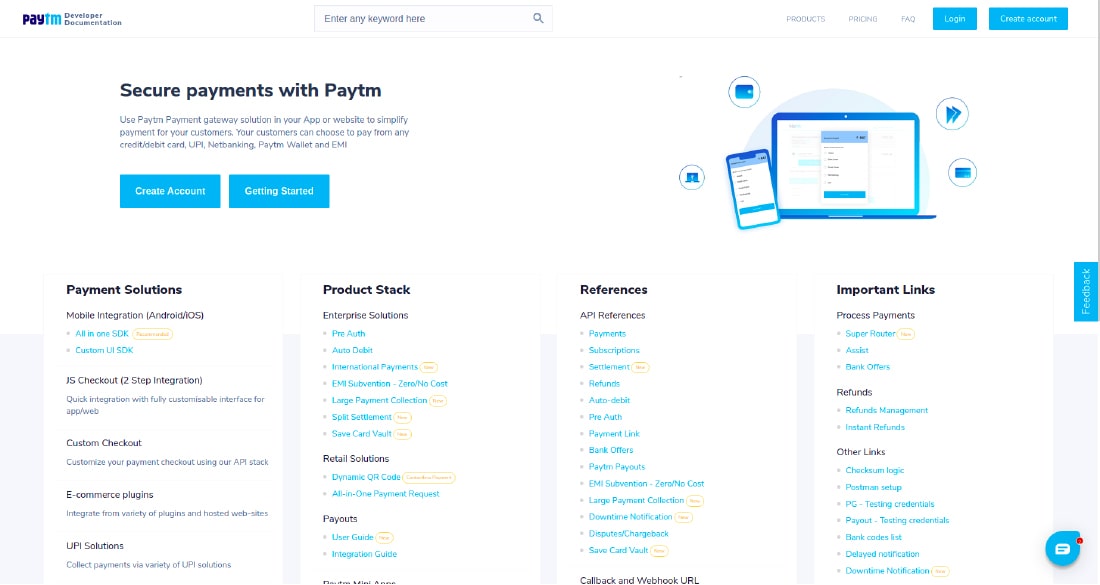
To do so, go to https://developer.paytm.com/, log in directly if you are already a Paytm user, or create a new account for the integration.

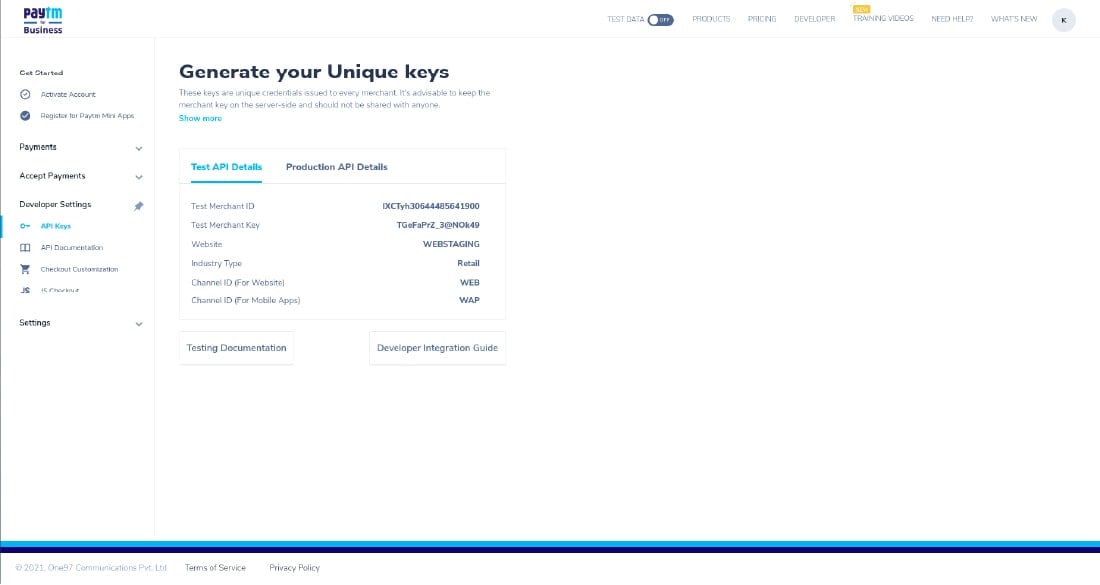
Once you have logged into your Paytm developer account, navigate to the
DashboardDashboard to access your Text API details. Here, essential credentials like Merchant Key and Merchant ID authenticate API requests. The API keys allow you to simulate and integrate payment transactions in Paytm’s Sandbox environment, a safe place to run your app without the need to invest money.
However, Test API Keys are only for sandbox use and cannot be used in production. While going live, you need to generate production API keys through the same Dashboard. Once API keys are ready, you are set to move forward with payment gateway integration in React js.

After following the API keys procedure, the next step is to create a new React JS application. You can utilize the following command to generate a new app.
Note: You need to ensure that you have the Node js or NPM package installed on your system. You will need to run React and handle its dependencies.
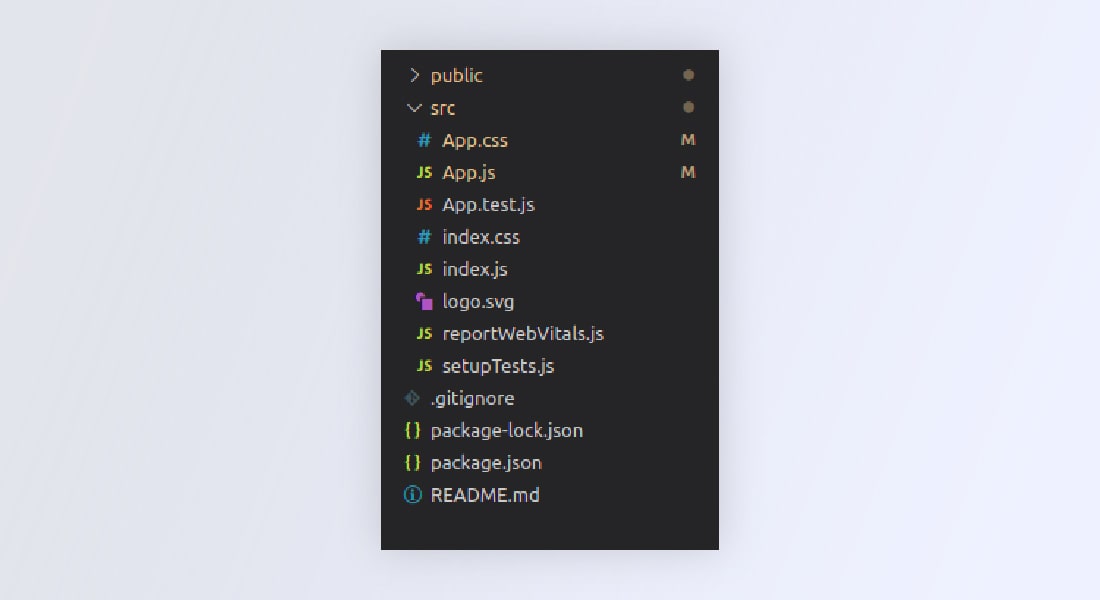
After that, a new project would be created with the default folder structure, as shown below.
A new project would be created with the default folder structure as shown below.

You must include the Paytm JavaScript library in your project to use the Paytm payment gateway in React JS application. It is done by adding a
Hire ReactJS developer from us to add varied skillset to your existing in-house development. We can help you develop next-gen web solution from ideation to development to final delivery.
Create a new file paytmButton.js inside /paytm-button folder. This file will contain the main logic and functionality for the Paytm payment integration using ReactJS.
The user interface would have a “Pay Now” button that will trigger the Paytm checkout modal.
Create a new function initializePaytm() that will contain all the initialization configurations and token generation steps that will be triggered on page load using useEffect.
The initializePaytm() function will make use of the Paytm checksum file and it will generate a token.

const initialize = () => {
   let orderId = "Order_" + new Date().getTime();

   // Sandbox Credentials
   let mid = ""; // Merchant ID
   let mkey = ""; // Merchant Key
   var paytmParams = {};

   paytmParams.body = {
     requestType: "Payment",
     mid: mid,
     websiteName: "WEBSTAGING",
     orderId: orderId,
     callbackUrl: "https://merchant.com/callback",
     txnAmount: {
       value: 100,
       currency: "INR",
     },
     userInfo: {
       custId: "1001",
     },
   };

   PaytmChecksum.generateSignature(
     JSON.stringify(paytmParams.body),
     mkey
   ).then(function (checksum) {
     console.log(checksum);
     paytmParams.head = {
       signature: checksum,
     };

     var post_data = JSON.stringify(paytmParams);

     var options = {
       /* for Staging */
       // hostname: "securegw-stage.paytm.in" /* for Production */,

       hostname: "securegw.paytm.in",

       port: 443,
       path: `/theia/api/v1/initiateTransaction?mid=${mid}&orderId=${orderId}`,
       method: "POST",
       headers: {
         "Content-Type": "application/json",
         "Content-Length": post_data.length,
       },
     };

     var response = "";
     var post_req = https.request(options, function (post_res) {
       post_res.on("data", function (chunk) {
         response += chunk;
       });
       post_res.on("end", function () {
         console.log("Response: ", response);
         // res.json({data: JSON.parse(response), orderId: orderId, mid: mid, amount: amount});
         setPaymentData({
           ...paymentData,
           token: JSON.parse(response).body.txnToken,
           order: orderId,
           mid: mid,
           amount: 100,
         });
       });
     });

     post_req.write(post_data);
     post_req.end();
   });
 };
paytmParams.body = { ... };
PaytmChecksum.generateSignature(
JSON.stringify(paytmParams.body),mkey ).then(function(checksum){  ... // logic };
Create a new function makePayment() that will be triggered on click of the button, which will use the already generated token and display the checkout modal to the user. In this function, you can modify the style of the Paytm checkout modal and change the color code and add your logo.

const makePayment = () => {
        var config = {
            "root":"",
            "style": {
              "bodyBackgroundColor": "#fafafb",
              "bodyColor": "",
              "themeBackgroundColor": "#0FB8C9",
              "themeColor": "#ffffff",
              "headerBackgroundColor": "#284055",
              "headerColor": "#ffffff",
              "errorColor": "",
              "successColor": "",
              "card": {
                "padding": "",
                "backgroundColor": ""
              }
            },
            "data": {
              "orderId": paymentData.order,
              "token": paymentData.token,
              "tokenType": "TXN_TOKEN",
              "amount": paymentData.amount /* update amount */
            },
            "payMode": {
              "labels": {},
              "filter": {
                "exclude": []
              },
              "order": [
                  "CC",
                  "DC",
                  "NB",
                  "UPI",
                  "PPBL",
                  "PPI",
                  "BALANCE"
              ]
            },
            "website": "WEBSTAGING",
            "flow": "DEFAULT",
            "merchant": {
              "mid": paymentData.mid,
              "redirect": false
            },
            "handler": {
              "transactionStatus":
function transactionStatus(paymentStatus){
                console.log(paymentStatus);
              },
              "notifyMerchant":
function notifyMerchant(eventName,data){
                console.log("Closed");
              }
            }
        };

        if (window.Paytm && window.Paytm.CheckoutJS) {
       	window.Paytm.CheckoutJS.init(config).
then(function onSuccess() {
      window.Paytm.CheckoutJS.invoke();
}).catch(function onError(error) {
      console.log("Error => ", error);
});
}}
Call the makePayment() method on click event of the button.

return (
   < div >
     {loading ? (
       < img src="https://c.tenor.com/I6kN-6X7nhAAAAAj/loading-buffering.gif" / >
     ) : (
       < button onClick={makePayment}>Pay Now< /button >
     )}
   < /div >
 );
Once we are done with the main logic implementation, we will import the file into App.js.

import "./App.css";
import { PaytmButton } from "./paytm-button/paytmButton";

function App() {
 return (
   < div >
     < PaytmButton / >
   < /div >
 );
}

export default App;
So, finally, we are done with the tutorial: How to Integrate Paytm Payment Gateway using ReactJS. Now using the below command, run your server.
Visit http://localhost:3000/ and test the demo app.
The entire source code is available on the github repo: paytm-payment-gateway-integration. Feel free to clone the repository and play around with the code.
We hope the tutorial has helped you learn how to integrate Paytm payment gateway using ReactJS. If you are still confused about how to add payment gateway in React js, you can seek professional expertise. Partner with a ReactJS development company to simplify the process and strategic advice on how to integrate payment gateway in React js. If you are a ReactJS enthusiast, visit the ReactJS tutorials page without wasting your time, clone the github repository, and polish your technical side.
Your Success Is Guaranteed !
We accelerate the release of digital product and guaranteed their success
We Use Slack, Jira & GitHub for Accurate Deployment and Effective Communication.