By installing SSL certificate on your website you can leverage HTTPS protocol to securely transfer the information between the server and end-user machine. This is necessary when you transfer sensitive information, such as credit card details on payment/checkout pages and personal details on login and signup forms.
HTTPS also protects the website against Man in the Middle attacks.
For more details on this, please go through doesmysiteneedhttps,com to get a clear picture of why every website should be served securely.
From where You Can Get FREE SSL Certificate?
However, configuration of SSL certificate in a website is complicated and time-consuming task. Let’s Encrypt(LE) is a free and open certificate authority that allows to simplify and automate the process of the trusted SSL certificates integration.
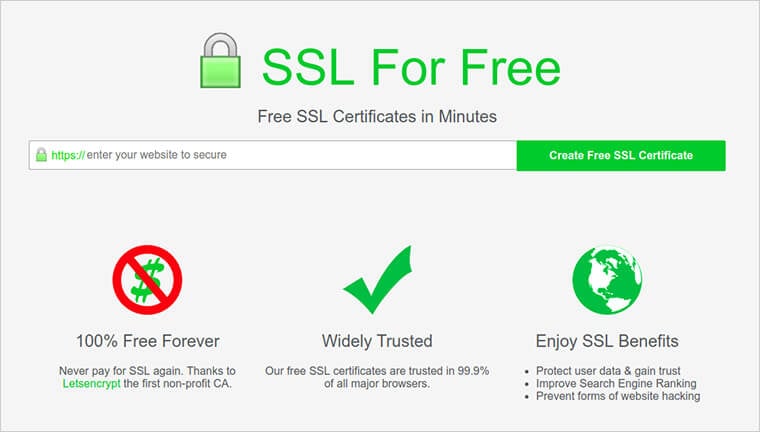
For now, we are using ‘https://www.sslforfree.com/’ to make it simple and fast(this site also make use of let’s Encrypt to generate SSL)

* How to generate SSL certificate?
Step 1: Write your domain name in the text box and click “Create Free SSL Certificate” button,

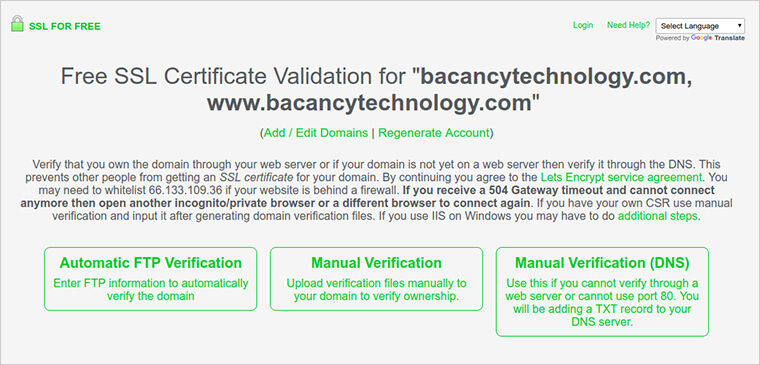
Step 2: Now this will redirect you to “Certificate Validation / Verification Page

Note: Here you will find three ways to verify your Domain name ownership, it prevents other people from getting an SSL certificate for your domain.
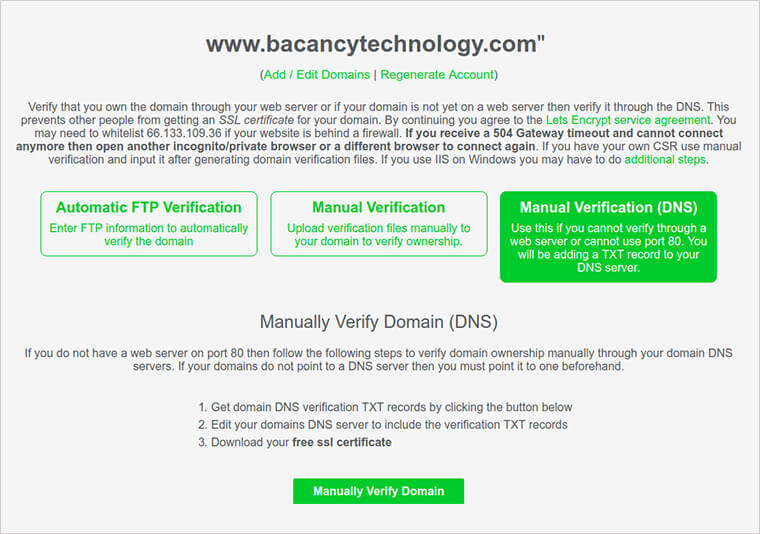
Step 3: For this demo we are using Third option “Manual Verification (DNS)” , you can verify the same using other option too but using DNS is one of the easiest way to verify ownership, Click on “Manually Verify Domain” button

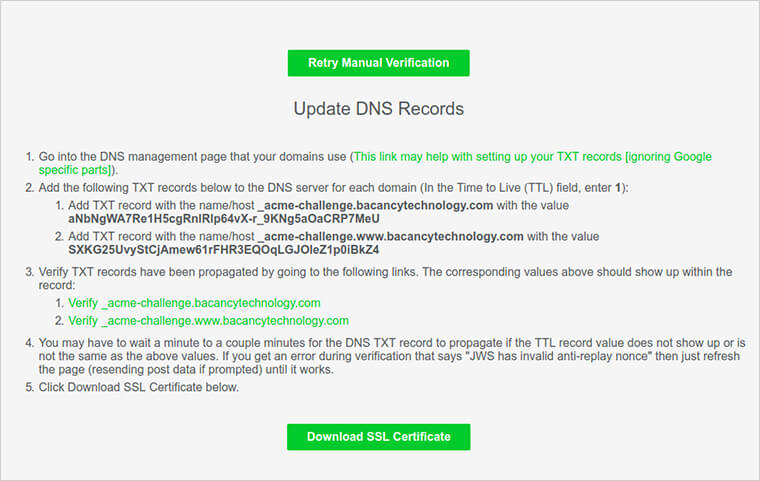
Step 4: Now it will present Updated DNS Records.Simply follow the listed below steps, add txt records to your DNS and after verification click on “Download SSL certificate” button.

Step 5: It will be downloaded as zip containing SSL certificates and private.key
* Installing SSL on your Server
Step 1: Before installation, Copy all certificate files to your server
- To copy files between your computer and your instance you can use an FTP service like FileZilla or the command scp which stands for secure copy.
- To use scp with a key pair use the following command: scp -i path/to/key file/to/copy user@ec2-xx-xx-xxx-xxx.compute-1.amazonaws.com:path/to/file.
- To use it without a key pair, just omit the flag -i and type in the password of the user when prompted.
Step 2: Before installation, Copy all certificate
- Command for merge
cat ca_bundle.crt certificate.crt > certificate_ssl.crt
- Go to your nginxconfig file using below path
sudo vi /etc/nginx/sites-enabled/(your file name)
- Paste following line into your config file files to your server
server {
	listen443;
	sslon;
	ssl_certificate /etc/ssl/certificate_ssl.crt;
	ssl_certificate_key /etc/ssl/private.key;
	server_name  yourdomainname_com;
	access_log /var/log/nginx/nginx.vhost.access.log;
	error_log /var/log/nginx/nginx.vhost.error.log;
	location / {
		root /var/www/;
		index index.html;
	}
}
Step 3: Installing a SSL certificate on Apache
< VirtualHost *:443 >
	DocumentRoot /var/www/website
	ServerName www.yourdomainname_com.com
	SSLEngineon
	SSLCertificateFile /etc/ssl/crt/primary.crt
	SSLCertificateKeyFile /etc/ssl/crt/private.key
	SSLCertificateChainFile /etc/ssl/crt/intermediate.crt
< /VirtualHost >
Step 4: Save and exit, restart Nginx/Apache in order to apply the changes. You can restart Nginx/Apache with this command:
- Restart Apache
sudo service apache2 reload(Debian, Ubuntu, etc.)
or
sudo service httpd reload (RHEL, CentOS, etc.) - Restart Nginx
nginx -s reload
orsudo service nginx restart
Step 5: Awesome, now you can check your site with https://
![]()
