Getting Started With Apollo Vue GraphQL
Last Updated on December 27, 2024
Quick Summary
This tutorial blog covers the Apollo Vue GraphQL step-by-step guide. Apollo Vue GraphQL is a robust integration of Vue flexibility and GraphQL’s data management. It empowers you to build a data-driven Vue app with enhanced data fetching, caching, and state management abilities.
Vue Js is a modern javascript framework that is popular for building SPAs. To make the Vue developer experience convenient, Vue Apollo client and state management library functions, along with the server query language GraphQL, are used to bring about the formation of complex UIs.
In this blog, we’ve integrated the Vue Apollo framework with the Vue GraphQL server to facilitate smooth and efficient communication between the client and server.
In 2015, Facebook released GraphQL, a query language for web APIs that eases the communication between frontend and backend. It consists of schema language for server and query language for the client. Being an open specification, anyone can use it with their version framework. It can be used with any choice of backend language to create a valid GraphQL server.
Some of the popular frameworks used with GraphQL are Apollo, Hasura, GraphQL Yoga, and more. Perks of using GraphQL are that it makes the APIs fast, flexible, and developers find it easy to use.
Apollo is the most preferred GraphQL framework as it provides both frontend and backend solutions. It provides good number of tools to convert the backend as GraphQL API, and hence interact with the frontend easily.
GraphQL works for the server-side, and when the frontend wants to inquire or fetch data, the GraphQL client libraries offer solutions, and one such solution is Vue GraphQL. There are several such libraries for each frontend framework.
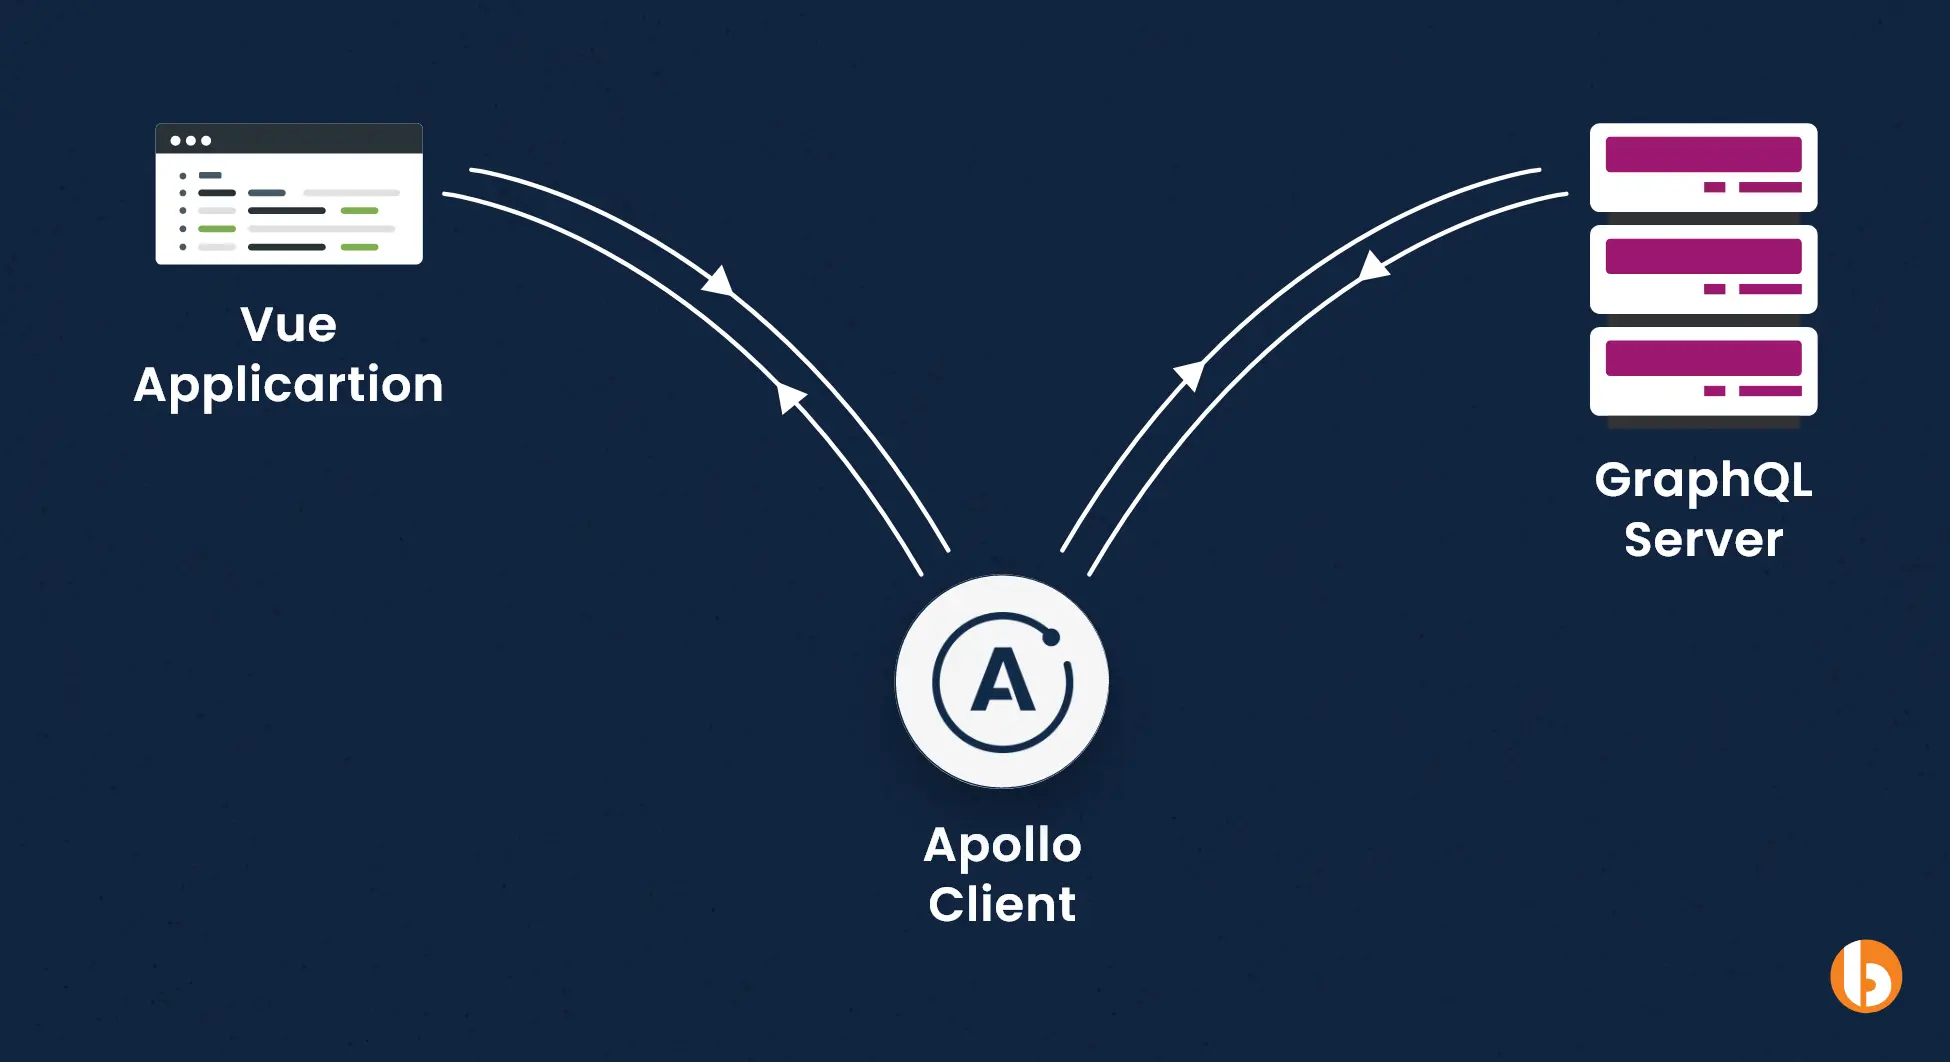
Let us begin with the process of connecting GraphQL API to the Vue Js frontend using the Apollo client framework.
In the beginning create one project folder and inside that folder use below package.json file to create GraphQL server.
Package.json

"name": '"graphgl-server",
"version": "1.0.0",
"description": "",

"author": "",
> Debug

"scripts": {
"dev": "nodemon app.js",
"test": "echo \"Error: no test specified\" && exit 1"
},
"main": "index.js",
"dependencies": {
    "cors": "~2.8.5",
    "express": "~4.18.2",
    "express—-graphql": "70.12.00",
   "nodemon": "2.0.20"
},
"keywords": [],
"license": "ISC"
}
After that let’s create an app.js file inside the same root folder. That app.js file is for creating schema for databases. So, you can create basic schema as per below example.
App.js

const express = require("express");
const cors = require("cors");
const {
    graphqlHTTP
} = require("express-graphql");
const {
    GraphQLObjectType,
    GraphQLInt,
    GraphQLString,
    GraphQLList,
    GraphQLSchema,
    GraphQLNonNull,
} = require("graphql");
const app = express();

app.use(cors());

let userData = [{
        id: 1,
        firstName: "John",
        lastName: "Doe",
        age: 22
    },
    {
        id: 2,
        firstName: "Mark",
        lastName: "Smith",
        age: 30
    },
    {
        id: 3,
        firstName: "Robert",
        lastName: "Hunt",
        age: 35
    },
];

const userType = new GraphQLObjectType({
    name: "User",
    description: "UserDetails",
    fields: {
        id: {
            type: GraphQLNonNull(GraphQLInt),
        },
        firstName: {
            type: GraphQLNonNull(GraphQLString),
        },
        lastName: {
            type: GraphQLNonNull(GraphQLString),
        },
        age: {
            type: GraphQLNonNull(GraphQLInt),
        },
    },
});

const rootQuery = new GraphQLObjectType({
    name: "RootQuery",
    description: "This is root query",
    fields: {
        users: {
            type: GraphQLList(userType),
            resolve: () => userData,
        },

        user: {
            type: userType,
            args: {
                id: {
                    type: GraphQLInt
                },
            },
            resolve: (_, args) => userData.find((data) => data.id === args.id),
        },
    },
});

const rootMutation = new GraphQLObjectType({
    name: "RootMutation",
    description: "This is root mutation",
    fields: {
        addUser: {
            type: userType,
            args: {
                firstName: {
                    type: GraphQLNonNull(GraphQLString)
                },
                lastName: {
                    type: GraphQLNonNull(GraphQLString)
                },
                age: {
                    type: GraphQLNonNull(GraphQLInt)
                },
            },
            resolve: (_, args) => {
                const newUser = {
                    id: userData.length + 1,
                    firstName: args.firstName,
                    lastName: args.lastName,
                    age: args.age,
                };
                userData.push(newUser);
                return newUser;
            },
        }
    },
});

const schema = new GraphQLSchema({
    query: rootQuery,
    mutation: rootMutation
});

app.use(
    "/graphql",
    graphqlHTTP({
        schema,
        graphiql: true,
    })
);

const PORT = 3001;

app.listen(PORT, () => {
    console.log(`Listening on port - ${PORT}`);
});
After creating the app.js file now we need to execute npm install to install all required dependencies. Once installing all dependencies successfully we need to run the command npm run dev to run the GraphQL server. Once all this is done let’s create a Vue app inside the same root folder.
Ready to take your Vue.js development skills to the next level with Apollo Vue GraphQL?
Hire Vue JS developer today and start building powerful, flexible APIs with ease. Contact us now to get started!
Here we used Vue 3 to create our app and make sure you need to use the node version below v17.
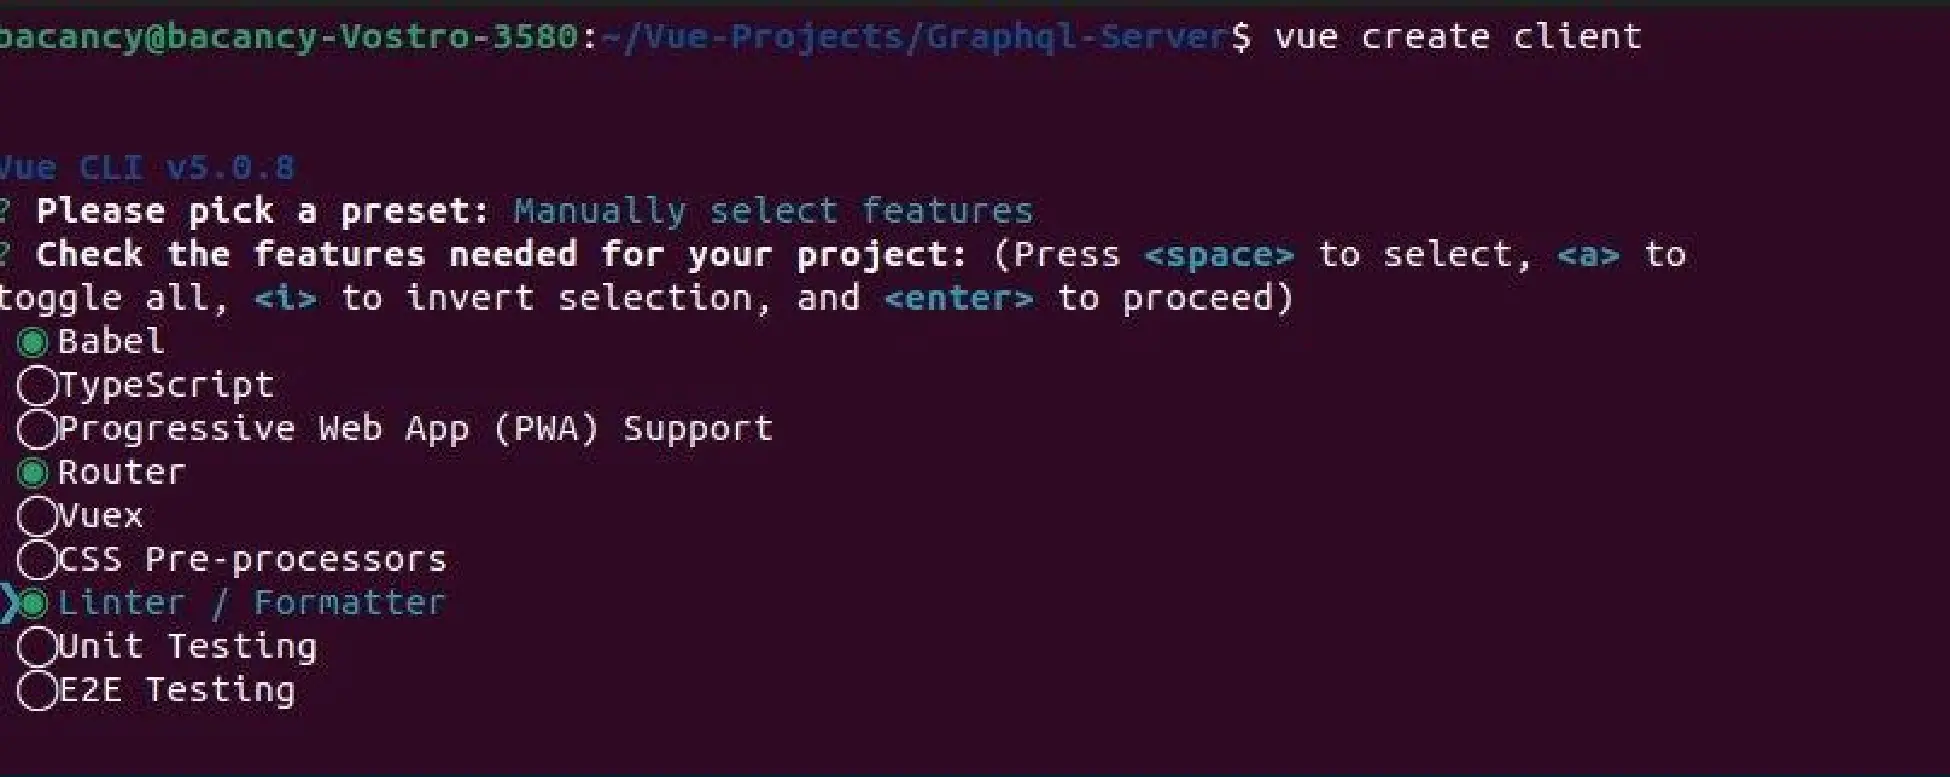
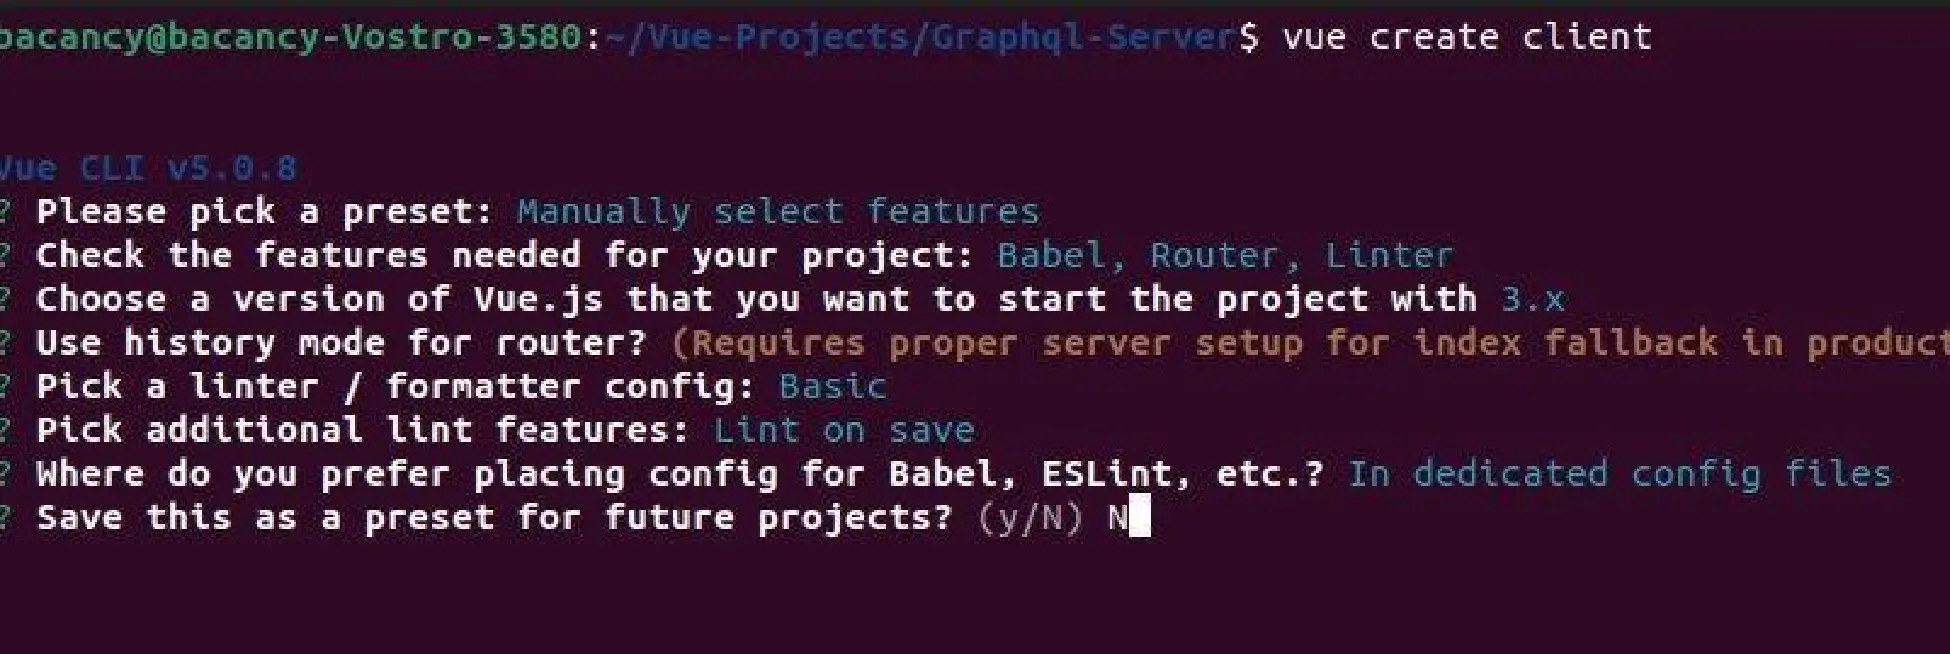
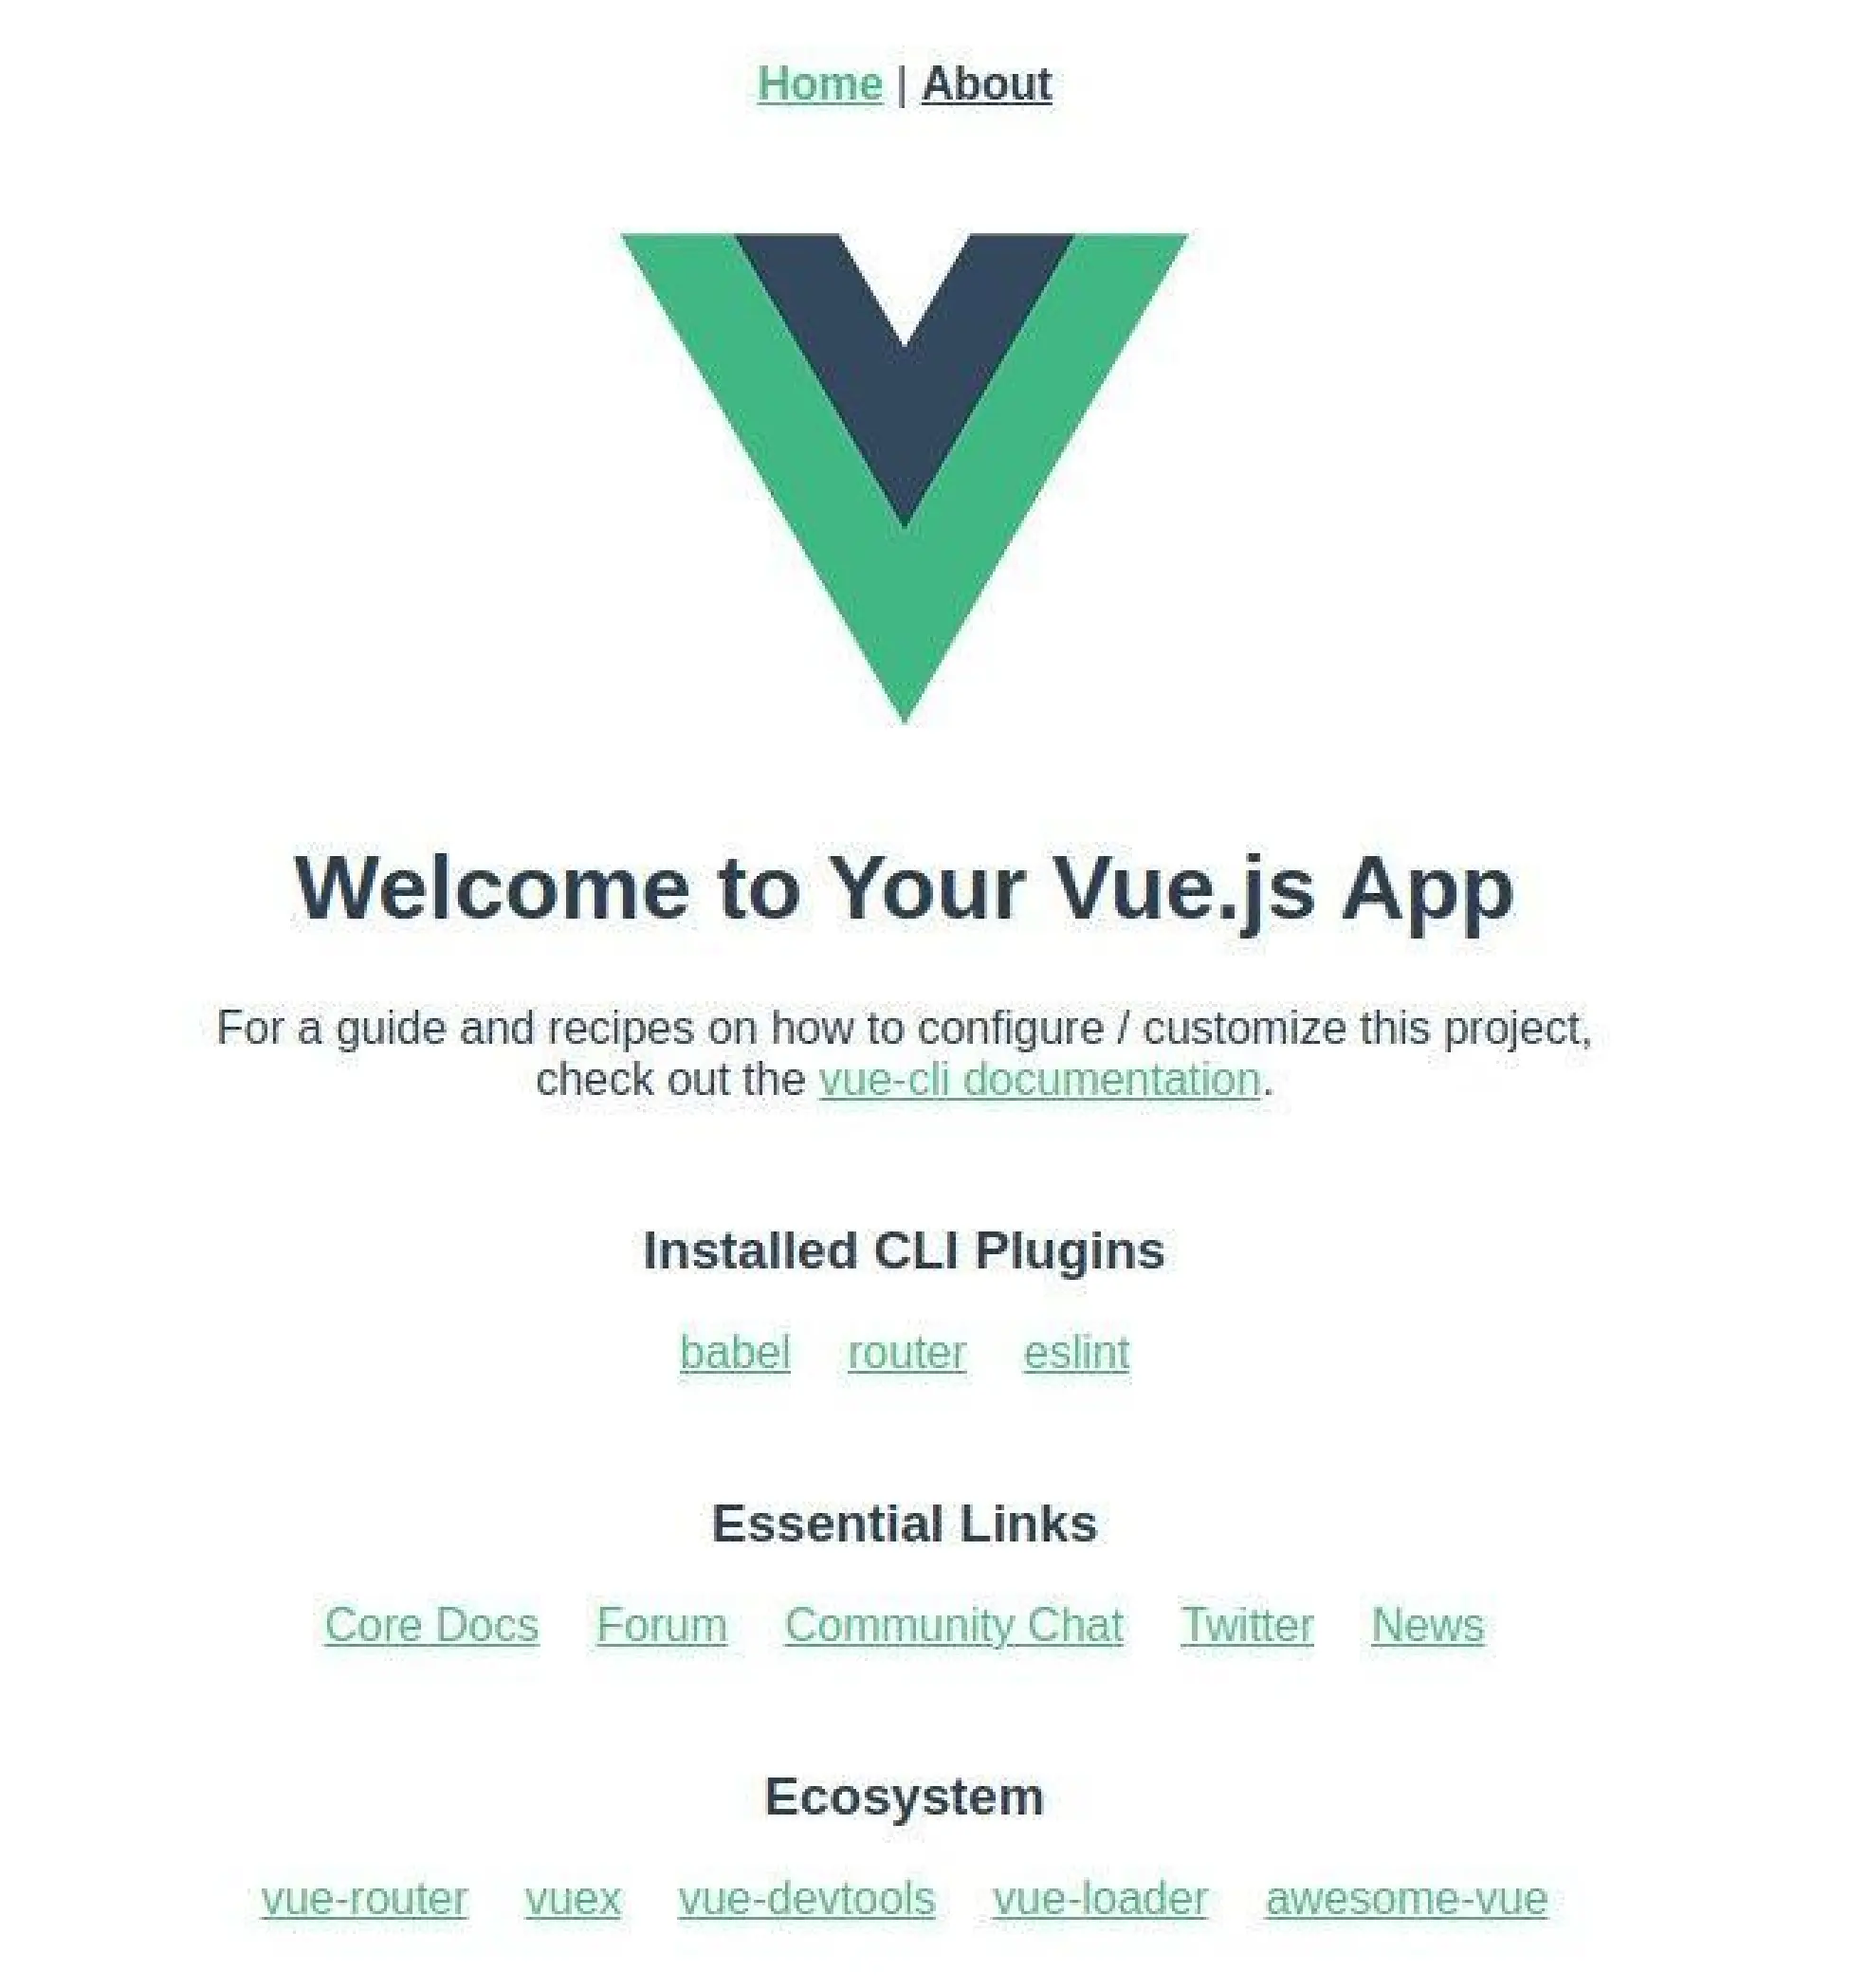
Now Navigate to our app and run it.
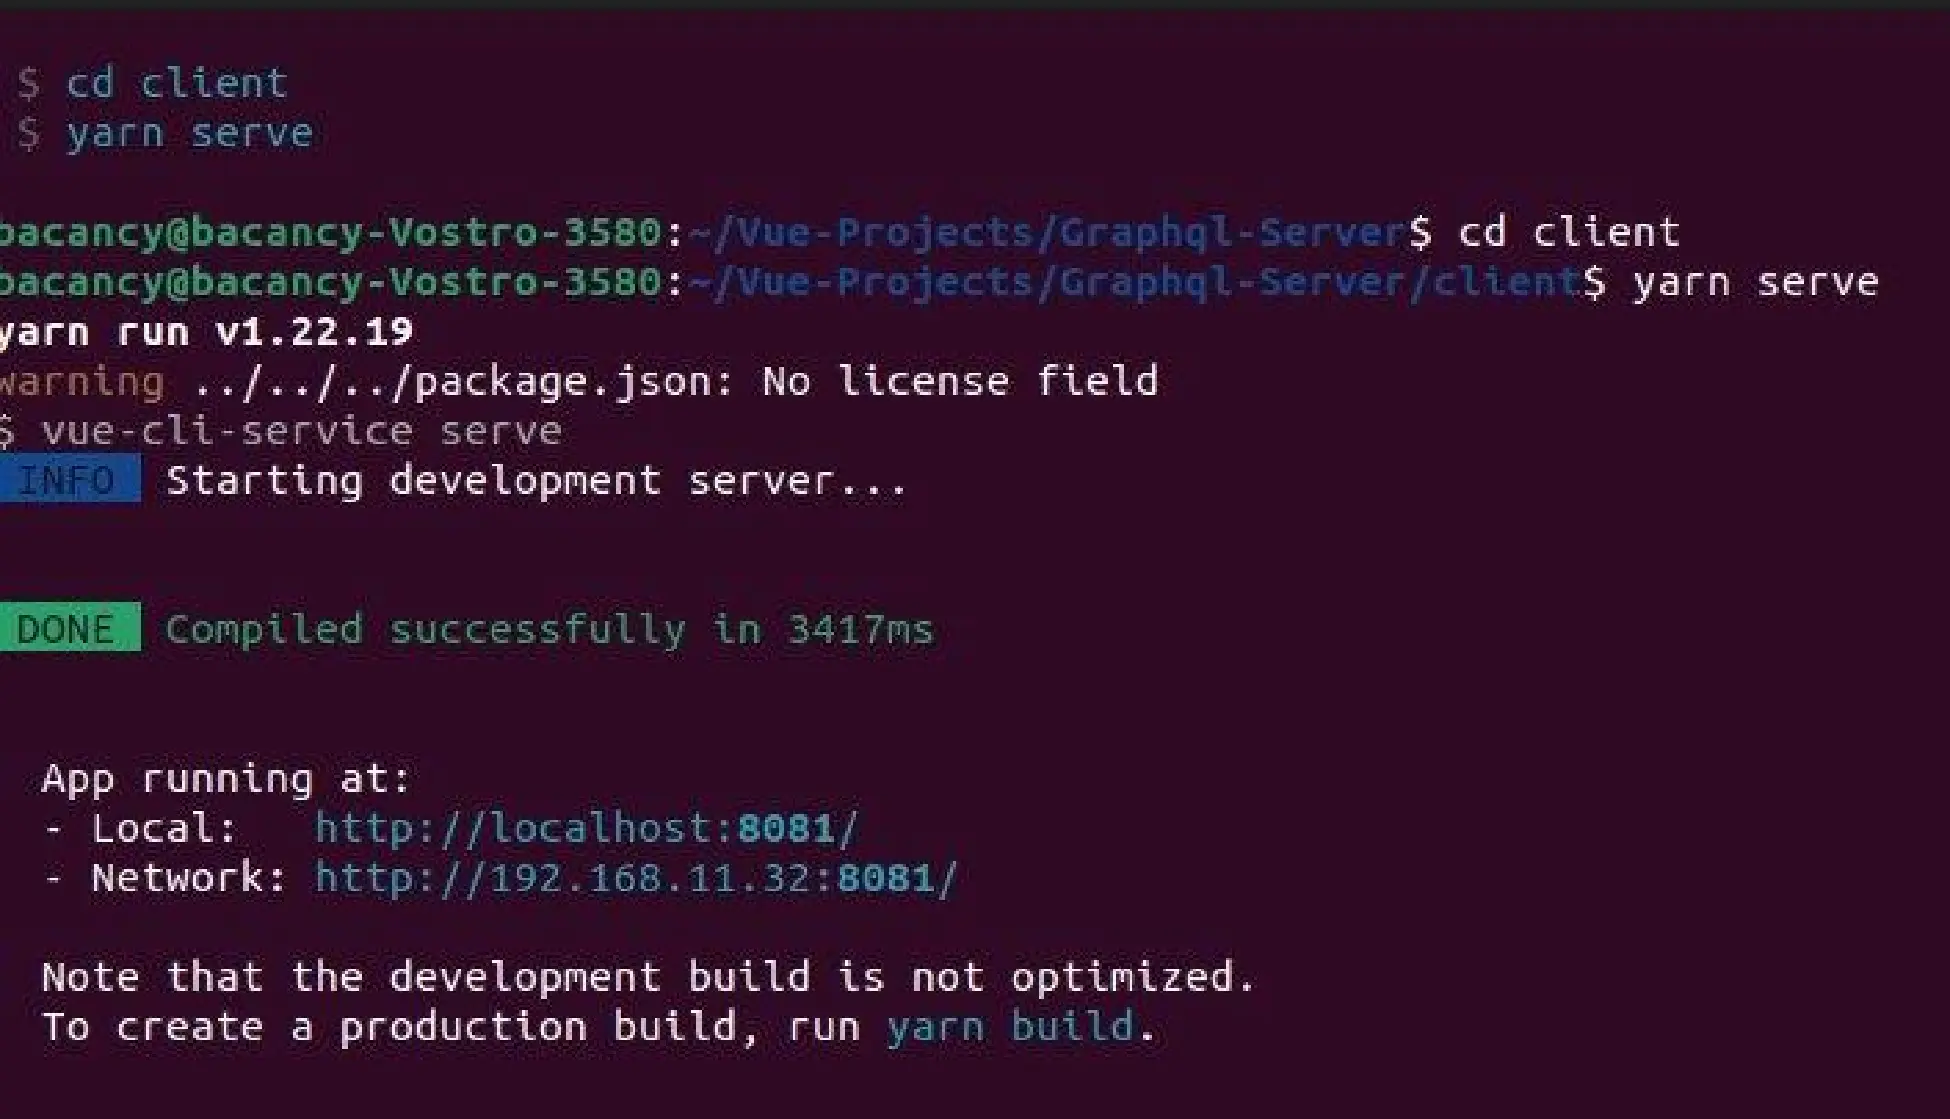
After successfully running local server it will show like below:
Install these packages to integrate Apollo Vue GraphQL.

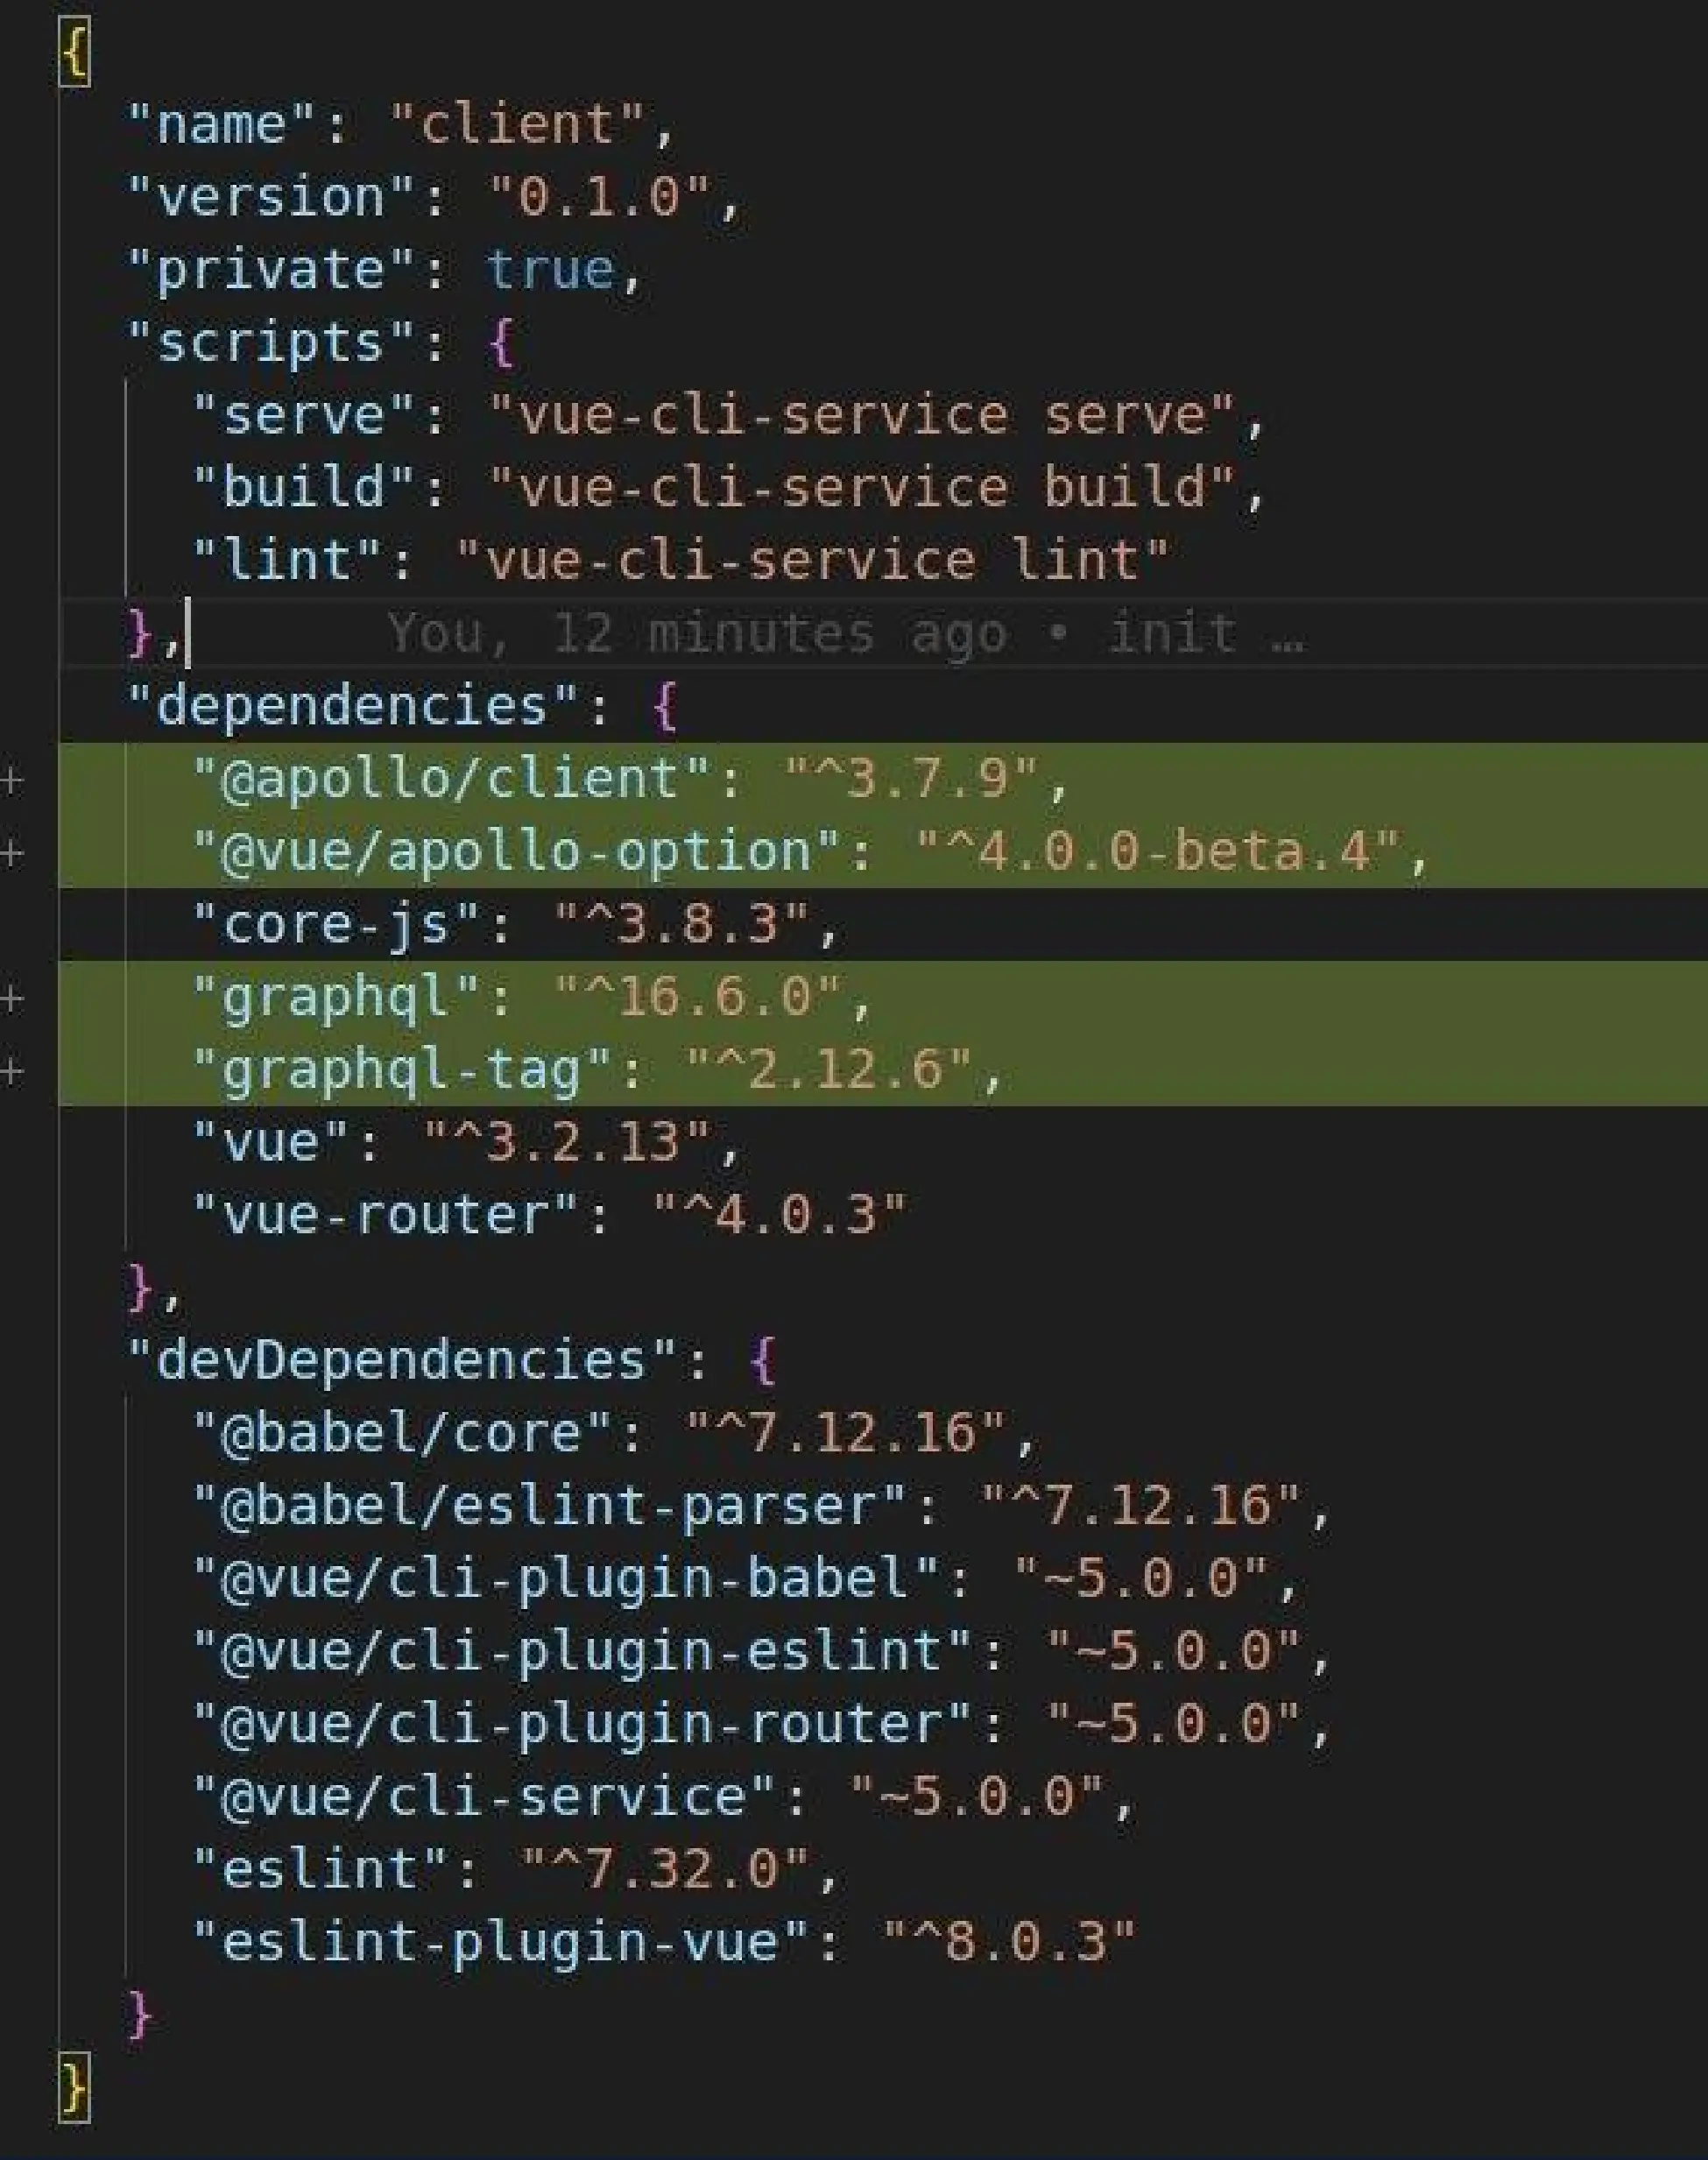
npm install --save @vue/apollo-option

npm install --save @apollo/client

npm install --save graphql

npm install --save graphql-tag

Also install react to avoid errors that says need to install “react”.

Vue3 package.json file after above dependency installation.
After configuring the client, go to the vue app and create apollo.provider.js file inside src folder.
apollo.provider.js:

import { InMemoryCache, ApolloClient } from "@apollo/client";
import { createApolloProvider } from "@vue/apollo-option";

const cache = new InMemoryCache();

const apolloClient = new ApolloClient({
  cache,
  uri: "http://localhost:3001/graphql",
});

export const provider = createApolloProvider({
defaultClient: apolloClient,
});
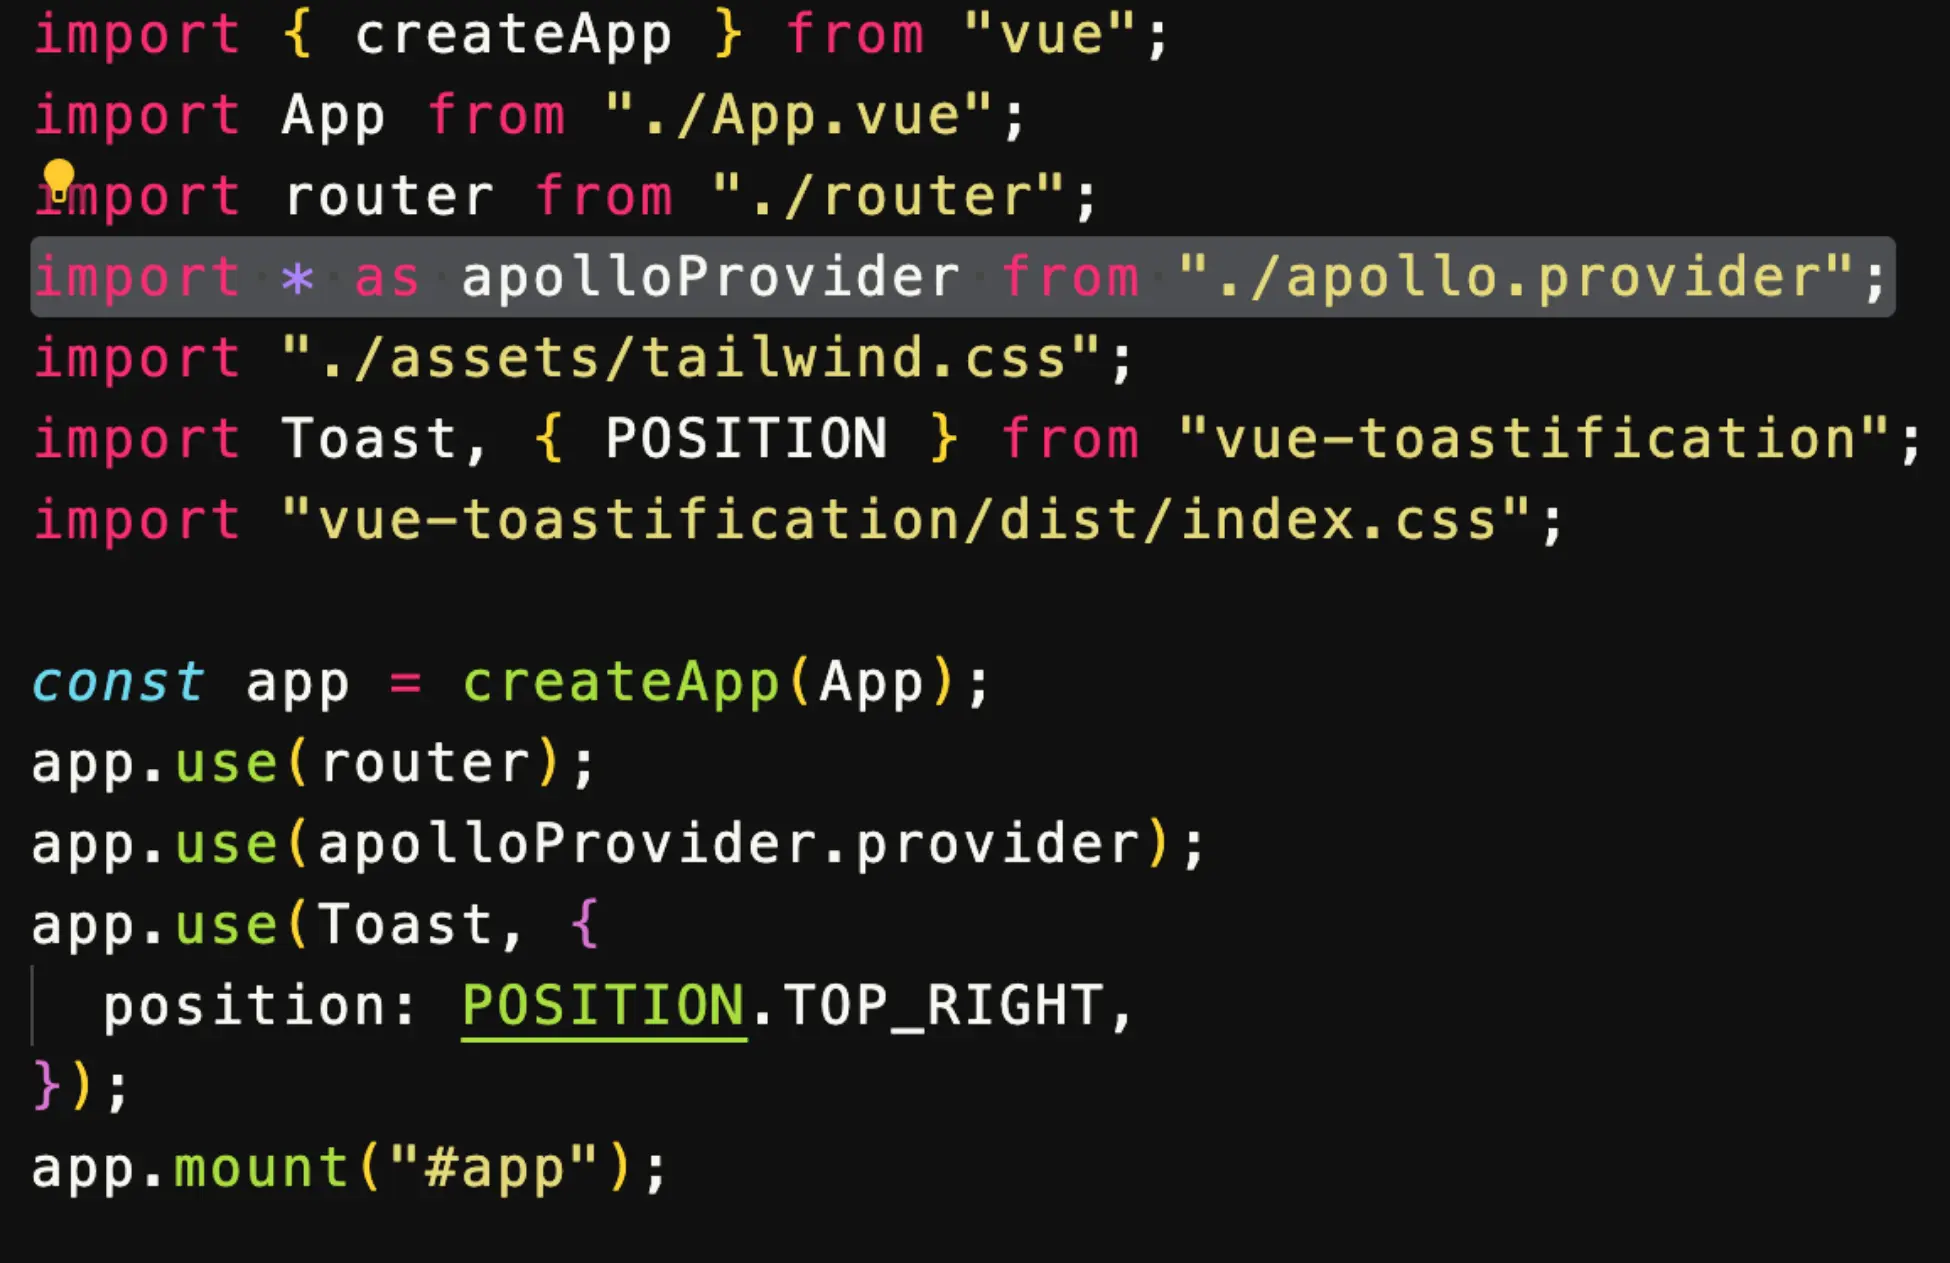
After adding above code inside apollo.provider.js file we need to import apolloProvider from ‘apollo-.provider.js’ file and integrating to vue instance.
As we are invested in the Apollo Vue GraphQL tutorial, let’s go through some key points that you need to be familiar with GraphQL.
Query is used to fetch the data from GraphQL endpoint.
Below ‘graphql.js’ getAllUsers Query fetches all users data from GraphQL endpoint.
If we want to pass dynamic value to our query we use the concept of ‘variable’. Using variables we can pass the query params. In the below example ‘getSingleUser’ query ‘$id’ is a variable type whose value is dynamically replaced by a variable object.
A Mutation is a GraphQL Operation that allows you to insert new data or modify the existing data on the server-side. You can think of GraphQL Mutations as the equivalent of POST, PUT , PATCH and DELETE requests in REST. In the below file we use mutation for adding a user.
Now, let’s create a graphql.js file inside the src folder to add queries. For that we need to import gql from ‘graphql-tag’.

import agql from "graphgl-tag";

export const getAllUsersQuery = gql
 query users {
  users {
   id
   firstName
   lastName
   age
  }
 }
;

export const getSingleUserQuery = gql°
  query user($id: Int!) {
   user (id: $id) {
    id
    firstName
    lastName
    age
   }
  }
 ;

export const addUserMutation = gql
   mutation addUser($firstName: String!, $lastName: String!, $age: Int!) {
    addUser(firstName: $firstName, lastName: $lastName, age: $age) {
    id
    firstName
    lastName
    age
   }
  }
 ;
After doing this let’s see how we can use GraphQL query in our component. For that let’s assume we have getAllUser query as we defined above in graphql.js file.
AllUsers.vue

<template>
  <div>
    <div v-if="users">
     <div v-for="user in users'">
      {{ user.firstName }}
   </div>
  </div>
   <div v-else>No user found</div>
  </div>
</template>

<script>
import { getAllUsersQuery } from "../graphql"”;

export default {
  name: "HelloWorld",
  apollo: {
    users: {
      query: getAllUsersQuery
    },
  }
};
</script>
For fetching SingleUser by id we need to give some parameters inside the query. So, for that let assume one component for SingleUser.vue.
SingleUser.vue

<template>
  <div>
   <div>
    <h5>{{ user.firstName + " " + user.lastName }}</h5>
     <p>Age — {{ user.age }}</p>
    </div>
  </div>
</template>

<script>
import { getSingleUserQuery } from
export default {
   name: "SingleUser",
   data() {
    return {
     user: {},
   };
 },
methods: {
   async getUser () {
    let { data } = await this.$apollo.query({
      query: getSingleUserQuery,
     variables: {
      id: Number{this.$route.params.id),
     },
    });
    this.user = data.user;
   },
  },
  created() {
    this.getUser();
  }
 };
</script>
Now let’s assume we need to add user so for that we need to import addUserMutation from graphql.js file which we already defined in above graphql.js file.
AddUser.vue

<template>
<div>
<form class="w-1/2 ml-auto mr-auto" @submit.prevent="addUser">
<div>
<div class="relative z-0 w-full mb-6 group">
<input type="text" v-model="fname" name="floating_company" id="floating_company" placeholde
</div>
</div>
<div>
<div class="relative z-@ w-full mb-6 group"
<input type="text" v-model="lname" name="floating_company" id="floating_company" placeholder="LastName" required />
</div>
</div>
<div>
<div class="relative z-0 w-full mb-6 group">
<input type="text" v-model.number="age" name="floating_company" id="floating_company" placeholder="Age" required />
</div>
</div>
<button type="submit">Submit</button>
</form>
</div>
</template>

<script>
import { addUserMutation, getAllUsersQuery } from "../graphql”;

export default {
name: "AddUser",
data() {
return {

methods: {
adduser() {
this.$apollo.mutate({
mutation: addUserMutation,
variables: {
firstName: this.fname,
lastName: this.lname,
age: this.age,
}
refetchQueries: [
{
query: getAllUsersQuery,
+,
1,
Hs;
this.$router.push(*/");
}
}
</script>
Overall, you can create any Vue project using GraphQL with the help of Vue Apollo.
Apollo Vue with GraphQL is an excellent choice for modern web development. It combines the best of Vue.js’s simplicity and flexibility with GraphQL’s robust data-handling capabilities. Whether you are building Vue.js applications with GraphQL for lightweight solutions or a complex platform, it helps you implement efficient state management, real-time updates, and seamless API integration.
By utilizing Vue Apollo with GraphQL, you can create scalable and high-performing applications with a smooth development experience. For businesses looking to maximize the full potential of this technology stack, connect with a professional Vuejs development company that ensures success in crafting cutting-edge applications using Vue GraphQL.
Its neither user-side interface nor server-side. However, it can be used on both sides of web application development.
Both GraphQL and REST are popular for building APIs. GraphQL provides a high-level flexibility and personalization, while REST is great for caching mechanism.
A simple query syntax, quick integration with Vue components, and reactive data handling are some of the benefits of Vue with GraphQL.
Your Success Is Guaranteed !
We accelerate the release of digital product and guaranteed their success
We Use Slack, Jira & GitHub for Accurate Deployment and Effective Communication.