Table of Contents
Introduction
All set with building an application but not sure about deploying it? We know the feeling of being so close yet stuck. But you don’t have to worry about it! What are we here for?
We have got a tutorial on how to deploy React app on Netlify using Github. Haven’t tried it yet? Leave it to us! Just follow this step-by-step guide and start implementing it with us.
Why Netlify?
Before starting our tutorial on how to deploy react app on netlify using github. Here are a few advantages of using netlify.
- Deploys the application within seconds
- Easy and straightforward
- Provides continuous deployment which means the website will be updated immediately whenever a new commit is made
- The website never goes down
- Offers easy rollbacks at a single click
- Provides a quick preview
Now, let’s get started with the steps.
Having a problem with building and deploying your ReactJS application?
Bacancy: to the rescue! Contact us we are top-notch ReactJS development company and hire React developer with outstanding problem-solving skills and architectural knowledge.
Steps: Deploy React App on Netlify using Github
Follow these steps to deploy React app on Netlify using Github.
Create a React Application
Use the below commands to create a reactJS application.
Run your application by using the below command.
Once you create the demo app upload your application on Github.
Login to Netlify Account
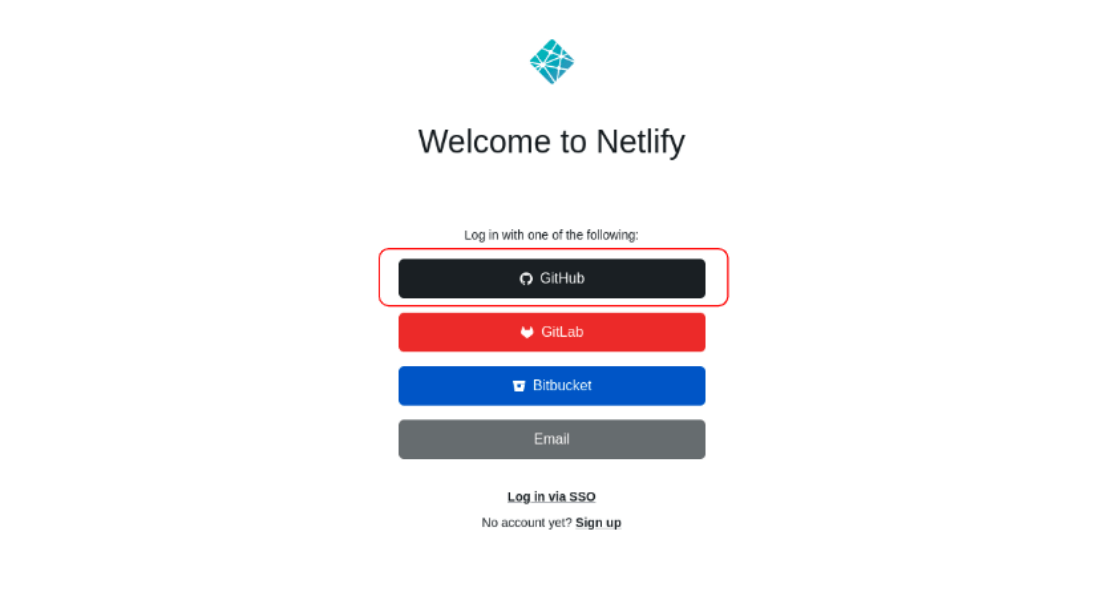
Visit Netlify and log in to your account using Github as shown in the below image.
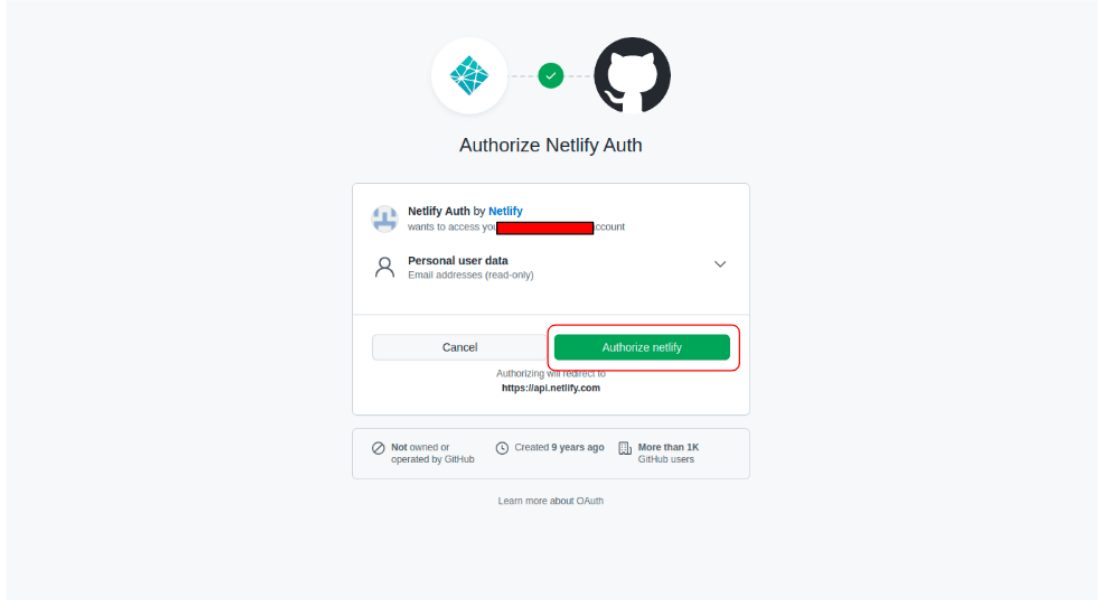
For authorizing Netflify with the help of Github click on Authorize Netlify.
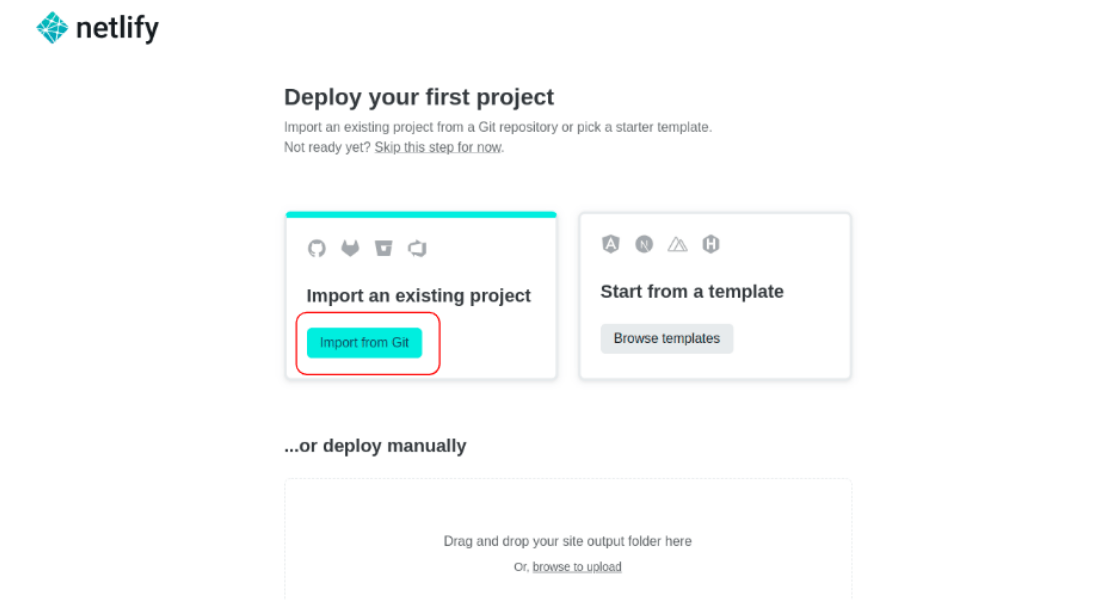
After successful authorization, you will be redirected to the deployment page as shown in the below screenshot. You can deploy the app directly from Git, using templates, or manually uploading. Click on Import from Git button.
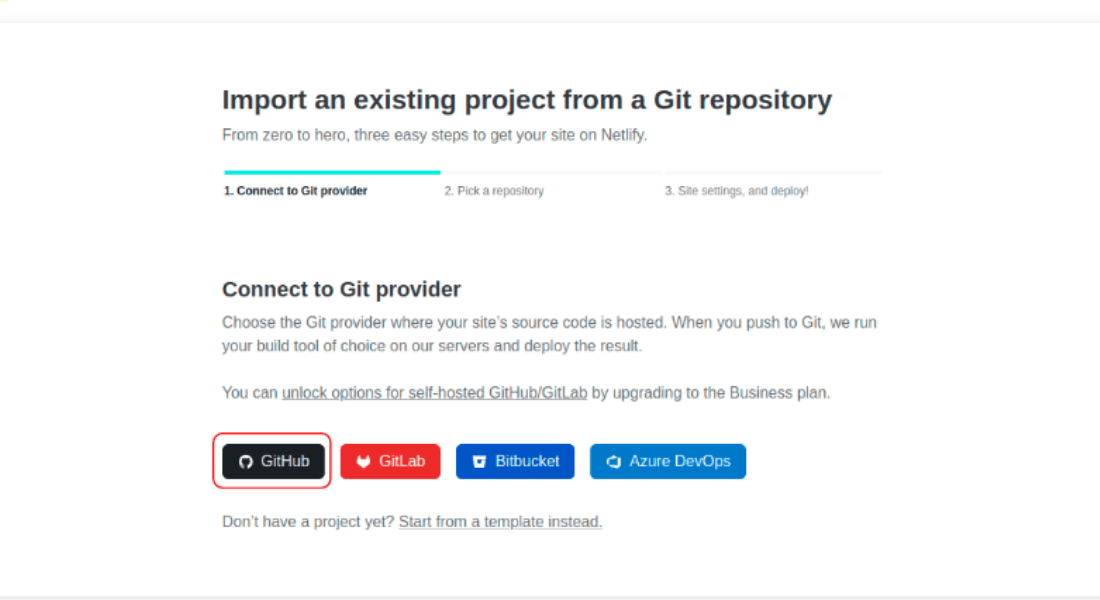
Import Project from Github
To import an existing project the first step is to Connect to Git Provider.
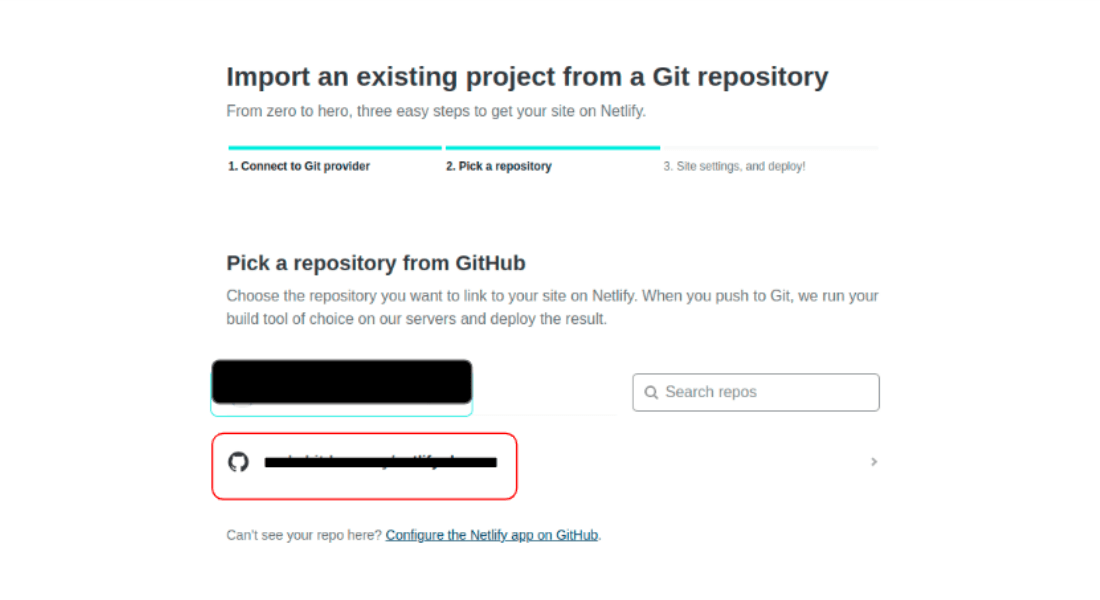
The next step is to Pick a Repository. Choose the github repository for deploying it.
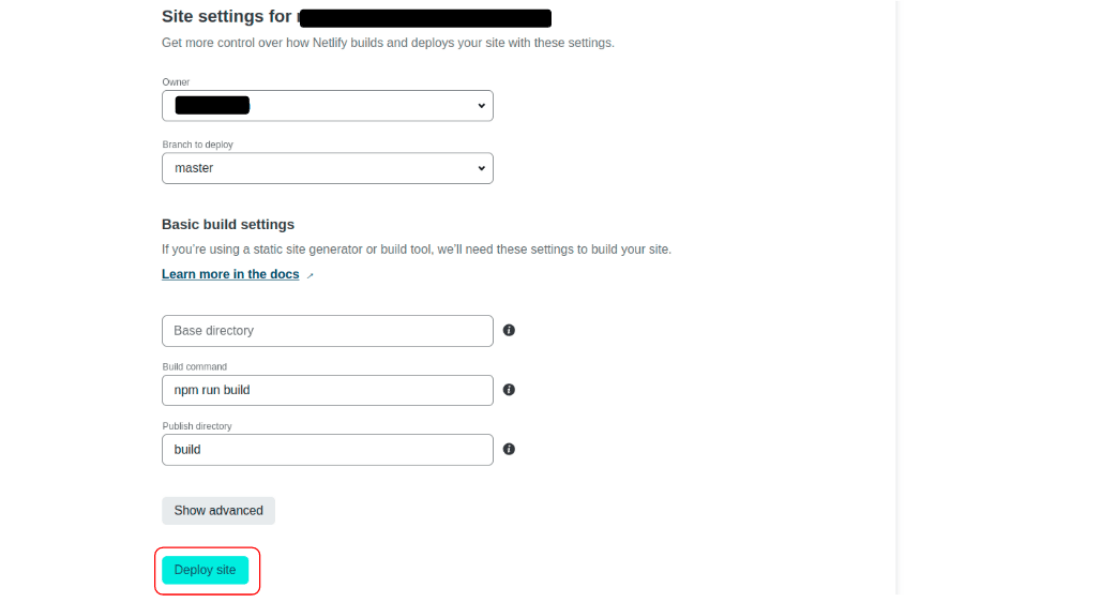
After selecting the repository, please set the Site Settings. As shown below, fill in the information as required. Select the branch (here master branch) from the dropdown menu that you want to deploy. Use the build command ‘npm run build’ and the public directory as build (which is created using the build command). Click on the Deploy Site button.
Note: You can change this setting as per your requirement.
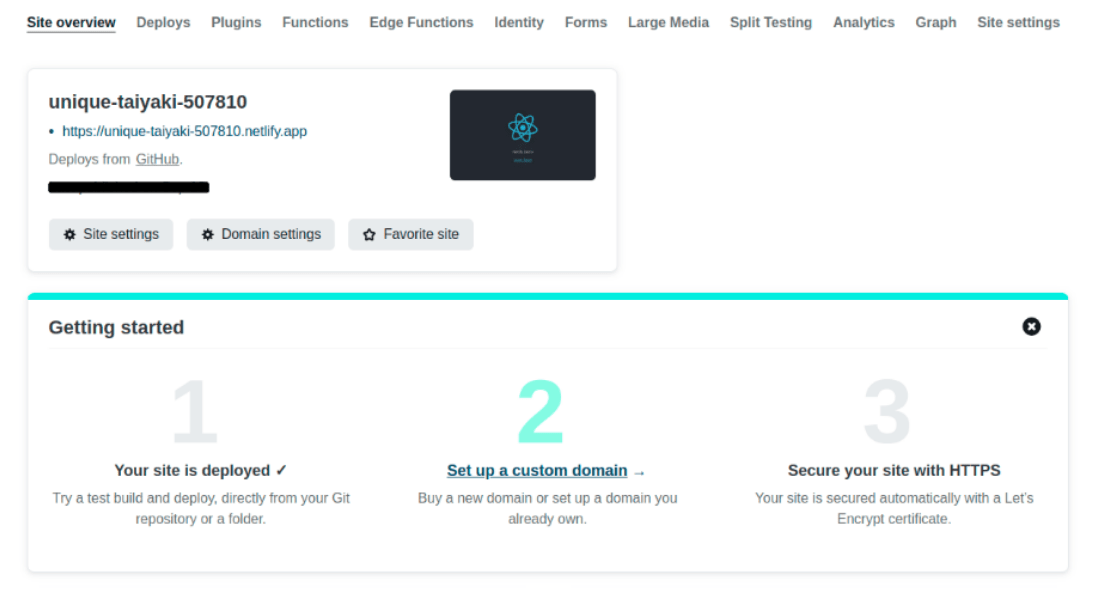
After clicking on the Button Deploy Site, your site will be deployed and the link is generated by Netlify.
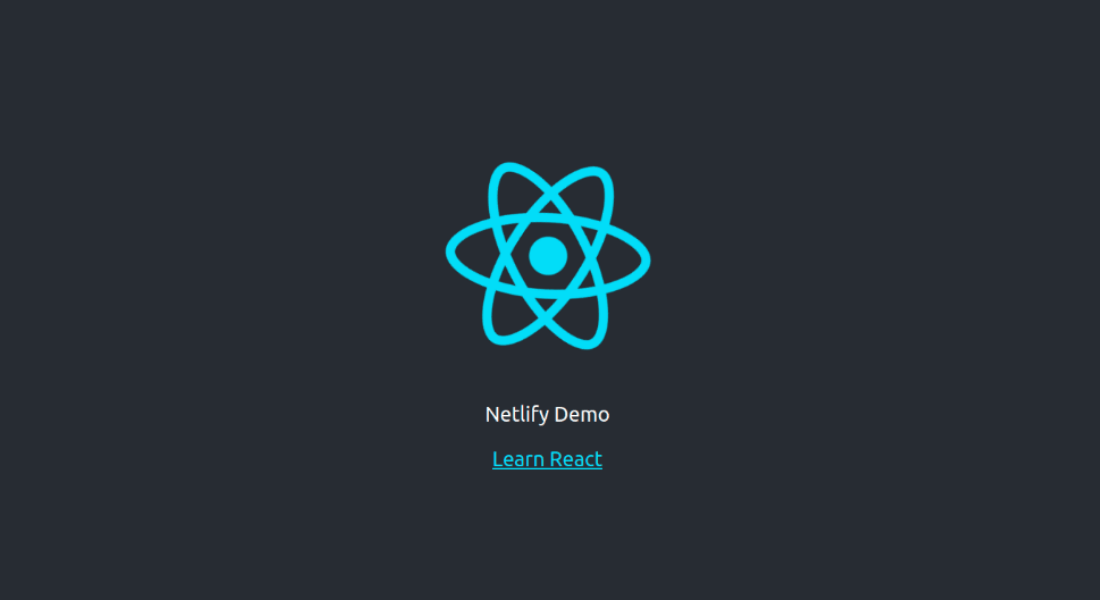
So, this was it! Easy and straightforward, isn’t it? Start building your React application and deploy it on Netfliy in a few steps.
Conclusion
I hope the tutorial: How to Deploy React App on Netlify using Github was helpful to you. We will be back with more such ReactJS tutorials. Visit the ReactJS tutorials page for more such topics based on basic and advanced ReactJs concepts. If you have any questions or suggestions reach out to us.
Your Success Is Guaranteed !
We accelerate the release of digital product and guaranteed their success
We Use Slack, Jira & GitHub for Accurate Deployment and Effective Communication.


