Markdown Tutorial using Rails App: How to Add Markdown Using Redcarpet and Coderay Gems?
Last Updated on June 6, 2024
Writing blogs with markdown is very helpful and easy as markdown takes care of the look of the content. A markdown support blogging app is quite easy in Ruby on Rails because of the redcarpet gem. If you want to add code in your, another gem coderay will help for syntax highlighting.
We have seen many blogs having markdown support. We can add links, images, videos, and gifs to any article having markdown support. Thinking about content without worrying about the blog’s presentation makes it easy for bloggers to make great content. In the markdown tutorial using rails app, we will implement a blog app to write articles with markdown support. Active Storage is used in Rails to add support for uploading media (images, videos, and gifs) present in your system that we can add in the article. For now, we can add images, videos, or gifs by using their URL (if they are already present on the web).
Before implementing the Markdown tutorial using the gems, let’s look at the video and see the output of this tutorial.
So, now we are clear about what this Markdown Tutorial using Rails App with Redcarpet and Coderay gems will provide us. Let’s get started on its implementation without further ado and learn how to make a blog app with markdown support.
Use the below command to create a new Rails app
Add following gems in Gemfile. Redcarpet for markdown support and coderay for syntax, highlighting if any code is present in the markdown.
Run bundle install to install the above gems for our application.
Generate scaffold for Articles using the following command. Here, we have passed the attributes(columns) added in the Articles table, namely title with string type and content with text type.
After generating the scaffold using the above command, a migration file will also be generated. So, we need to migrate the above changes to update the schema to add an Articles table with the title and content column.
Update config/routes.rb file as following
Now moving further in markdown tutorial using Rails app. Open app/helpers/application_helpers.rb file, add the following code

module ApplicationHelper
 class CodeRayify < Redcarpet::Render::HTML
   def block_code(code, language)
     CodeRay.scan(code, language).div
   end
 end

 def markdown(text)
   coderayified = CodeRayify.new(:filter_html => true, :hard_wrap => true)
   options = {
     fenced_code_blocks: true,
     no_intra_emphasis: true,
     autolink: true,
     lax_html_blocks: true
   }
   markdown_to_html = Redcarpet::Markdown.new(coderayified, options)
   markdown_to_html.render(text).html_safe
 end
end
The above code will parse the markdown present in the content and will render it in the view. To implement that, you need to call the markdown() method present in the above code for the content in the view, shown in the next step. Here, you can always add or remove options according to your need. Read the README.markdown file to explore more about markdown options.
Update the app/views/articles/show.html.erb with the following content

<p id="notice"><%= notice %></p>

<h2><%= @article.title %></h2>
<hr />
<%= markdown(@article.content) %>

<%= link_to 'Edit', edit_article_path(@article) %> |
<%= link_to 'Back', articles_path %>
<%= markdown(@article.content)%> will call the markdown() function with the content of the article as the parameter that we wrote inside the application_helpers.rb file in the previous section. Once done, we can see the parsed markdown on our view.
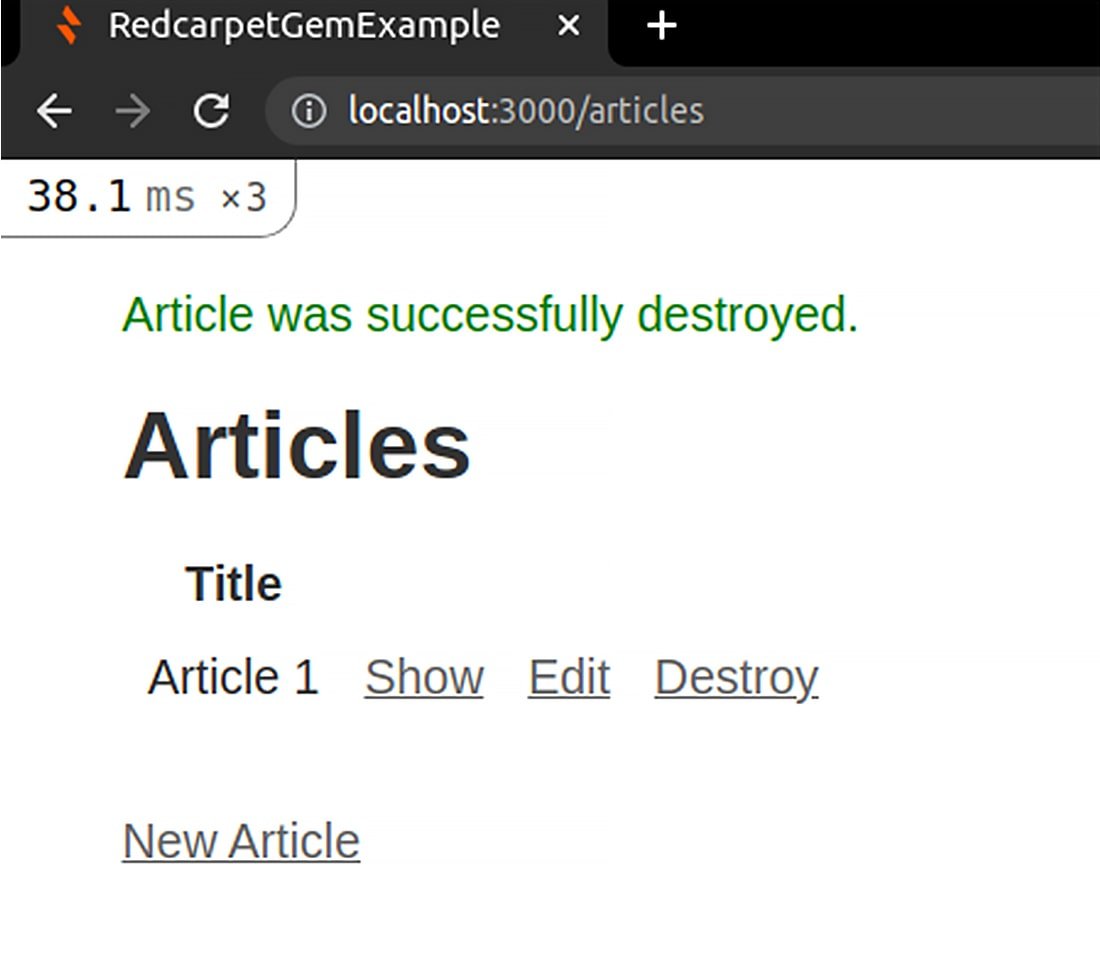
Once you are done with the above code, your UI will look something like this-
The UI will display a list of the articles which you can edit or delete. You can also add the article by clicking on New Article.

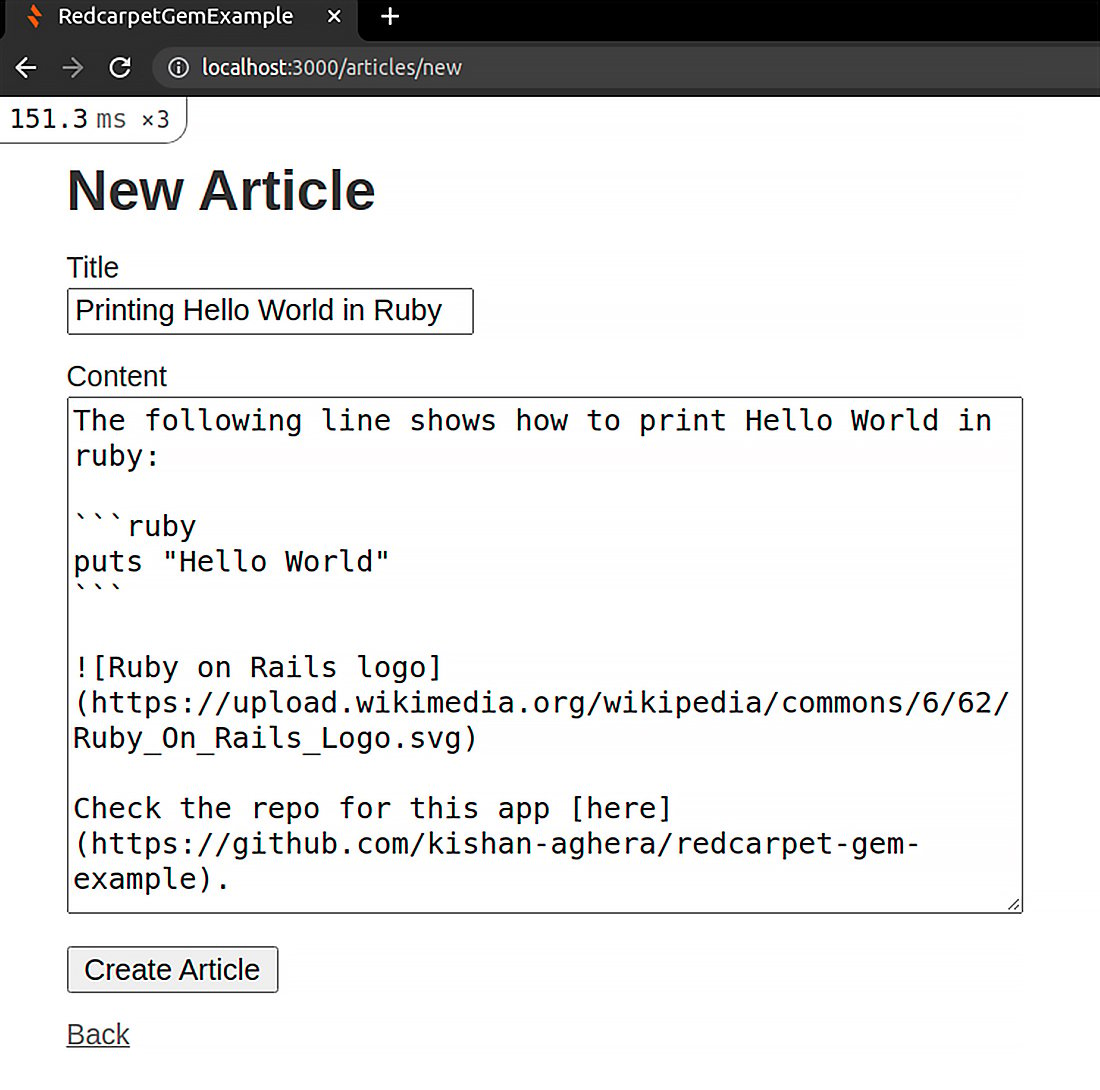
The UI for adding New Article is shown below-

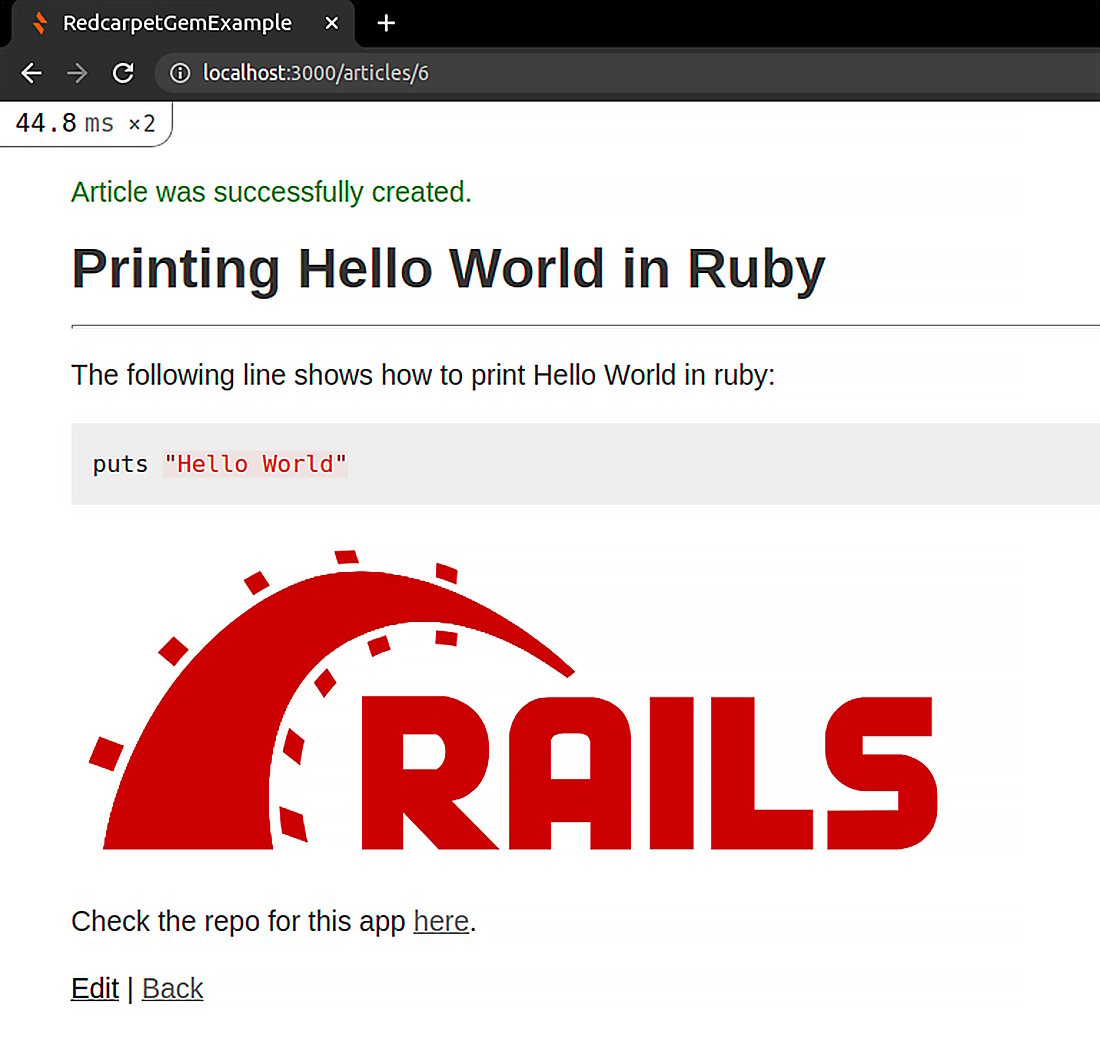
After clicking the button Create Article, the article will be added automatically-

You can find the entire source code on the Github Repository. Feel free to clone and play around with the code.
So, this was a Markdown tutorial providing a step-by-step guide to add Markdown support to the Rails app using Redcarpet and Coderay gems. If you want to explore more about Ruby on Rails, feel free to visit ROR tutorials, where we have step-by-step tutorials with github repositories.
We at Bacancy provide you best and skilled developers with fundamental and advanced ROR knowledge. Are you looking for a helping hand for your Rails project? If yes, then without wasting any time, contact us to hire ROR developers. We assure you of complete satisfaction and optimized solutions for your requirements.
Your Success Is Guaranteed !
We accelerate the release of digital product and guaranteed their success
We Use Slack, Jira & GitHub for Accurate Deployment and Effective Communication.